BLOG
How to build your first photography website in 2024

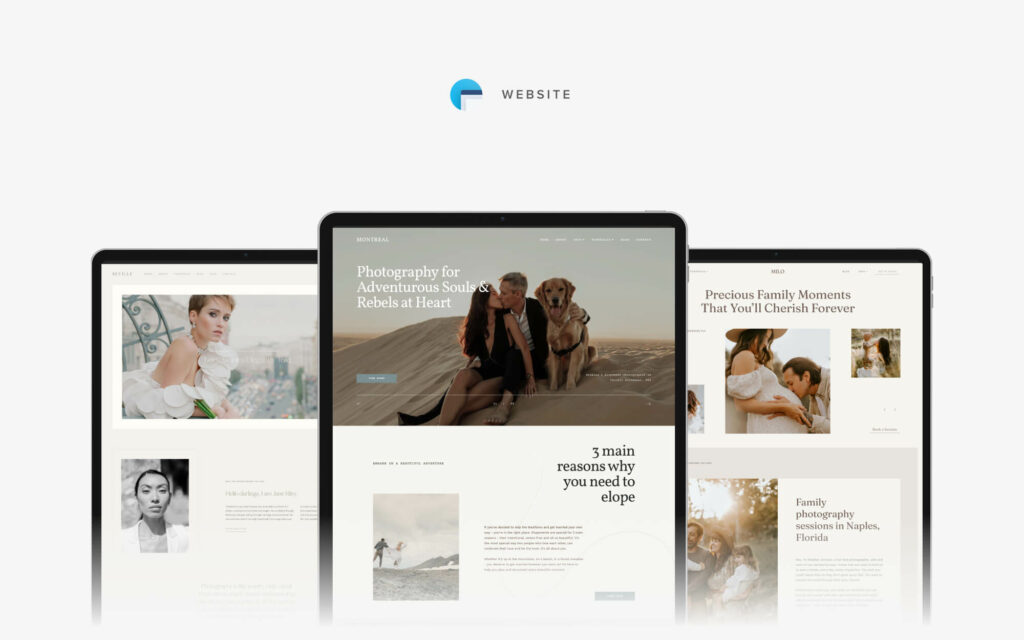
A website plays an important role for a photography business. It allows you to present your portfolio, and helps you book new customers. Nowadays, having a website is a must, as potential clients look up businesses online to find out more details, to compare offerings, and to make sure they choose the right vendor. If a website is one of your resolutions for this year, you’re in the right place. In this article, we share 6 easy steps to build your first photography site, all on your own. You don’t need to know how to code or have any design skills. With Pixieset, creating a photography website is effortless and intuitive, and you can get started for free.

Step 1. Define your client
This is probably the most important step in your website building process. As you get started, remember what is the ultimate goal of your site. First and foremost, it is to position your brand, and book clients.
The truth is, not every client is your client. In order to better define your brand and attract that perfect customer for you, there are a number of questions you can answer:
- Who is your ideal client? Describe that person.
- What do they do for a living?
- What are their values?
- What communication style does your ideal client relate to the most?
- What does your ideal client care about, specifically related to photography/other services you provide?
- What adjectives would you like people to associate with your business?
- What are you exceptionally good at? What makes your business unique and sets you apart in the industry?
- What websites inspire you visually or functionally? Describe why. (Don’t limit yourself to photographers’ websites only)
The answers to the above will be your guide during the next stages in your website building process, and will help you be more intentional with your online communication.
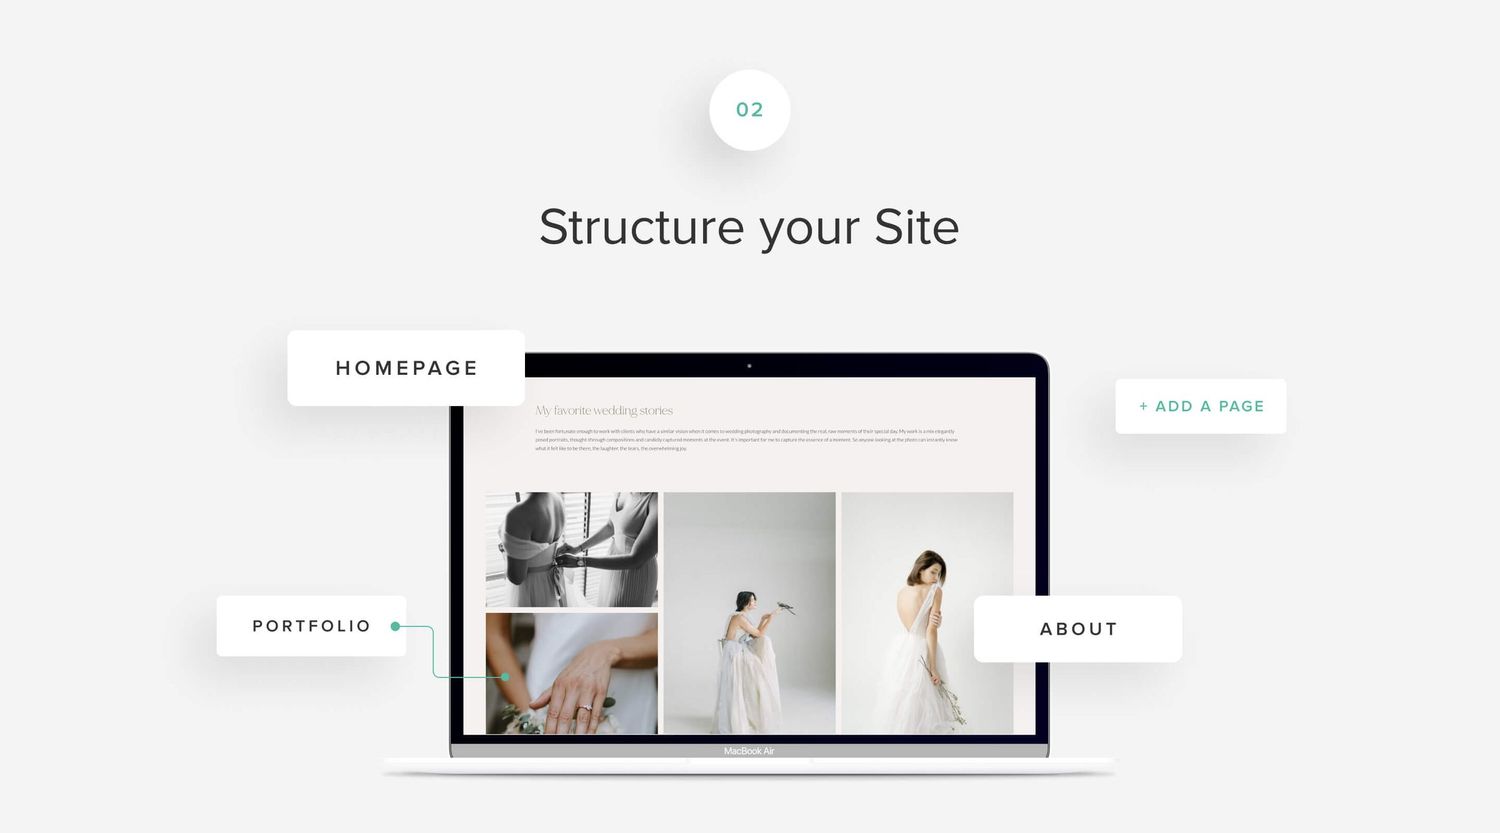
Step 2. Structure your site
In this step you will decide on your website pages, also known as a sitemap in the web design language. If you are just starting out, here are some common pages we recommend to include in a photography portfolio website:
Homepage / Portfolio / Blog / About / Pricing / Contact
For someone who has been running a photography business for a while now, we recommend a more extensive list of pages:
Homepage / Portfolio / Blog / About / The Experience / Pricing / Reviews / Contact
You can also take it a step further and sketch how the pages will look. Use rectangle shapes for images and simple lines for text to draw these on a piece of paper. It helps to conceptualize the pages, as well as get a better understanding of the content you need to prepare.
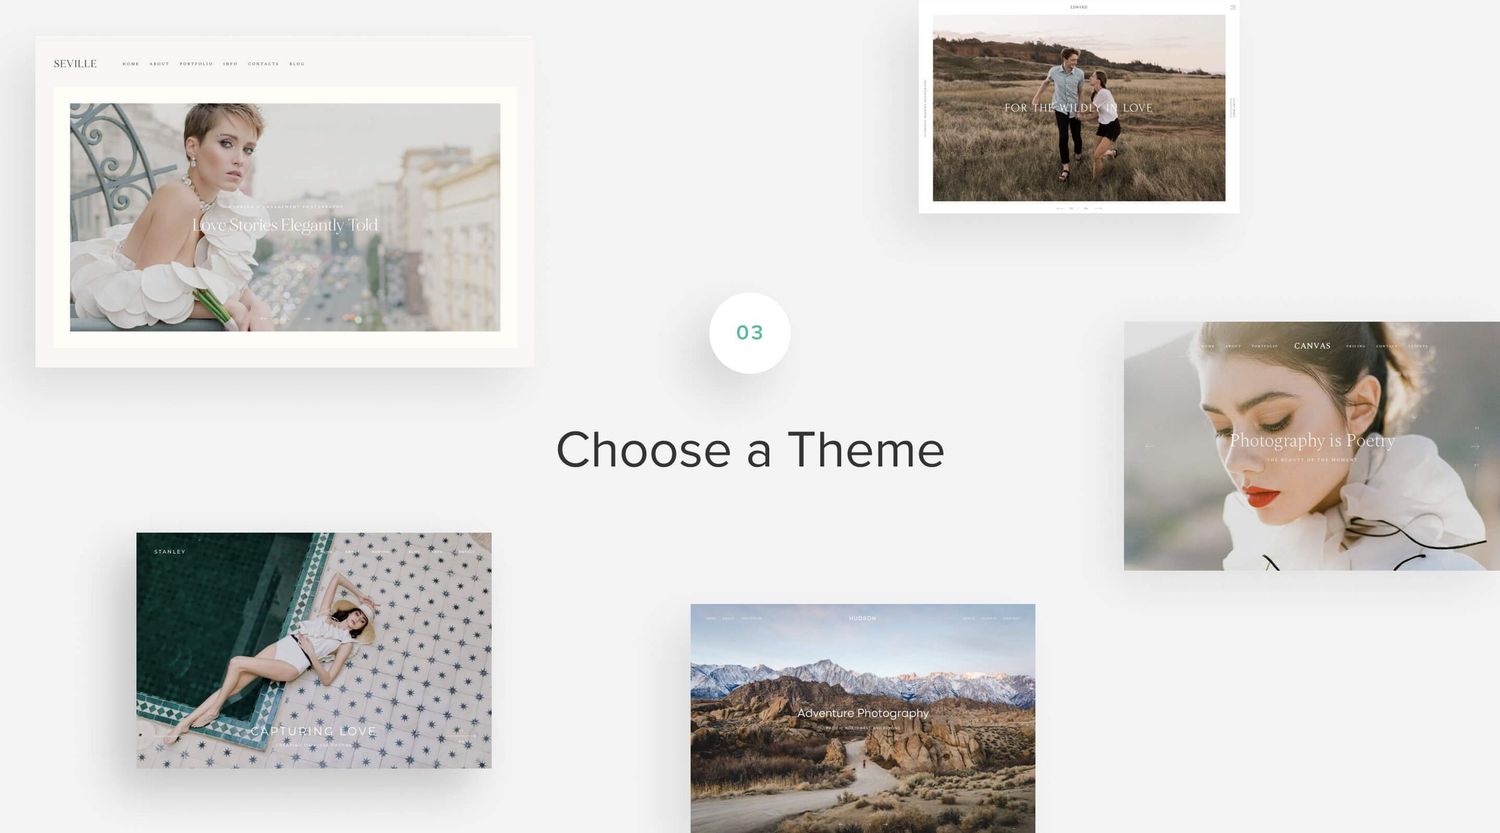
Step 3. Choose a theme
We recommend using Pixieset Website to build your site, as you can get started for free, no credit card required. All themes are designed and tailored for photographers, with layouts and functionality to help present your portfolio in an impactful manner. The website builder itself is so simple and intuitive, anyone can use it.
Based on your work done in Step 1 and Step 2, you can select one of the existing photography website templates that best meets your needs. We recommend to look at the layout of the pages, as well as the overall visual styling. Don’t worry if you decide to switch the theme later on. You can do it in one click, and all your content transfers seamlessly across, without having to rebuild from scratch.
Once you decided on a theme, sign up for free at pixieset.com, go to your dashboard, and select Website. This action prompts you to choose and apply a theme. All pages from the demo website are automatically implemented. Remove any pages that are not part of your site structure (Step 2), and swap the existing content with your own. This brings us to step 4.
Step 4. Fill out your content
Content preparation can be challenging, when you don’t know where to start, however Pixieset makes it so easy and fun. Go through each page inside the theme, and substitute the existing images with your own. Swap the text, so it reflects your business offering and your style of communication.
If you need to present more content on the page, you can add new blocks from the predefined library. Add a block to the page, replace the content with your own images and text, and done! Take it a step further with Flex Editor, our drag-and-drop builder which allows you to design your own unique layouts. Here is a list of 7 website design trends for your inspiration.
Here are some more recommendations to help you during this step:
1. Curate your imagery
Remember that less is more, and quality is better than quantity. You only need a handful of strong, curated shots to get clients interested. If you use a top slider on your page, only showcase your best 6-8 images, instead of 30. A similar approach goes for your galleries and blog posts. Not a lot of potential clients will browse through a gallery/blog post with 200+ images. A collection of 20-25 images is more than enough to highlight important moments of an event.
If you are starting out, begin by creating a portfolio page with curated images from different sessions, then expand into category collections as you get more work.
2. Prepare web-friendly images
Heavy images impact your site’s loading speed, which, in turn, can affect your SEO and Google ranking. This is why it’s important to save your images correctly for web. Here are some recommendations:
- export images for web at 72 dpi
- adjust the image sizing to no more than 2400px wide (calculate the height based on your imagery ratio)
- make sure images are saved as jpeg format. Use png format only for files that have a transparent background, for example, your logo file.
- always optimize your images. There are several services that can help with optimization: JPEGmini, TinyPng.
Bonus: name images with relevant keywords - include the image description and location to improve your chances of being found online. ie. ”Mila-big-sur-california-elopement-photographer”
3. Use clear and simple wording
When you write text for your pages, keep your communication clear both in headings and longer paragraphs. It helps to imagine as if you are talking directly to your customers or as if you are telling a story. Use the same type of language and style of communication that you would use, if you were speaking to your ideal client (Step 1). This will help not only to keep your voice consistent, but also to avoid over-complicating your message. Website visitors only need a few seconds before they decide if they want to keep exploring or to leave the site. Keeping things simple will greatly improve your users’ experience.
4. Keep in mind SEO recommendations
Clear wording on the website is also great for another reason — it improves your chances to be discovered by potential users who search for a photographer online. Statements like “Elopement & Wedding Photography in Big Sur, California”, or “Family and Kids Photography in Charleston, South Carolina” are golden for SEO. They are clear and suggestive of the services you provide, as well as your geographical location. These statements will perform and rank organically better than phrases like “Heartfelt stories told beautifully”. Try to create content that not only speaks to your website visitors, but is also Google friendly, as it improves your chances to be found online. To further improve your site SEO, we recommend to add alt text to your website images. This helps search engines understand the visual content on your site and include it in search results.
Step 5. Fonts and Colors
Happy with your website and are ready to launch? Feel free to skip this step! However, if you want to make adjustments to your theme to better match your desired look, you can easily do it inside your website settings.
Go to the Style tab inside your dashboard to edit fonts, and colors. You have a few predefined options to switch between and preview right on the spot. Instead of default fonts that come with the theme, you can explore ready-made font combinations that match your aesthetic better. Preview the changes on the go. For inspiration, check out our article with various font combinations — from elegant and editorial options, to clean and bold, or adventurous and playful.
You can also change colors on your website. Start with a predefined color palette and either use it as it comes or modify it per your taste. You can assign colors sitewide for a consistent look across pages, as well as to individual blocks, selected paragraphs, or important elements, such as buttons, titles, etc. Make sure your color selections and fonts complement each other while supporting your imagery, visual identity, and overall website communication. To help you get started, check out 10 font and color combinations for a variety of photography portfolios.
You can also bring more playfulness to the website by enabling site-wide animations. Your images and text will fade in, scale up, slide in or appear through other types of effects - grabbing your viewer's full attention. Learn more about customization options in the tutorials here.
Step 6. Launch and Celebrate
You are ready to launch your photography website. Before you release it into the world, go through the following checklist:
- use the SEO Manager inside your Pixieset website to add some must-have SEO items, like your pages’ titles and descriptions
- inside the SEO Manager check your page links, making sure they are descriptive and clean, ie. sitename.com/about instead of sitename.com/about-1
- run the SEO audit inside your dashboard to ensure you have no broken links across pages
- review all links to your external social media, make sure these open in a new browser window
- add a favicon (browser icon) and make sure your logo file is uploaded with alternative versions on the website. More details are here.
- upload a website social sharing image, which will display when your website is shared on social media. You can also upload an individual image for each of your pages.
- send a test message through your contact form to make sure you receive inquiries
- ask friends or family to check the site for any mistypes, or errors that you may have missed
- your website will automatically be optimized for the mobile view by Pixieset, however, it doesn’t hurt to review it, so you can experience how a user would navigate the site if accessed from a mobile device
Bonus: connect a custom domain. Your Pixieset Website automatically comes with a built-in pixieset.com domain, ie. yourname.pixieset.com, however to ensure a professional looking website and to improve your SEO, we recommend to connect a custom domain, ie. yourname.com. You can use providers like GoDaddy to register a domain name. Note that you will need to be on a paid plan to be able to connect your own domain name. Plans start at just $12/month, when billed yearly, and include your site’s hosting.
Congratulations!
You did it. If you have not yet, please take the time to appreciate your hard work and this extraordinary achievement: you just built your photography website, all on your own!
You’re only getting started
Your website is a work in progress. Keep an eye on it monthly - change and iterate the content, freshen up your blog and galleries, and make sure your website still reflects your clients and your brand. The great part is that with Pixieset, keeping your website up to date is easy and fun.
Excited to give it a try? Start building your first website today.