BLOG

Introducing Pixieset Bio Links for photographers
As your photography business grows, your online presence also expands. You start with a portfolio website, then create a booking site, a blog with useful articles for clients, a page for your presets and more. Many business owners choose to include a bio page on their social profiles — with links to all of their important resources, helping visitors navigate to the right page and find what they’re looking for, quickly.
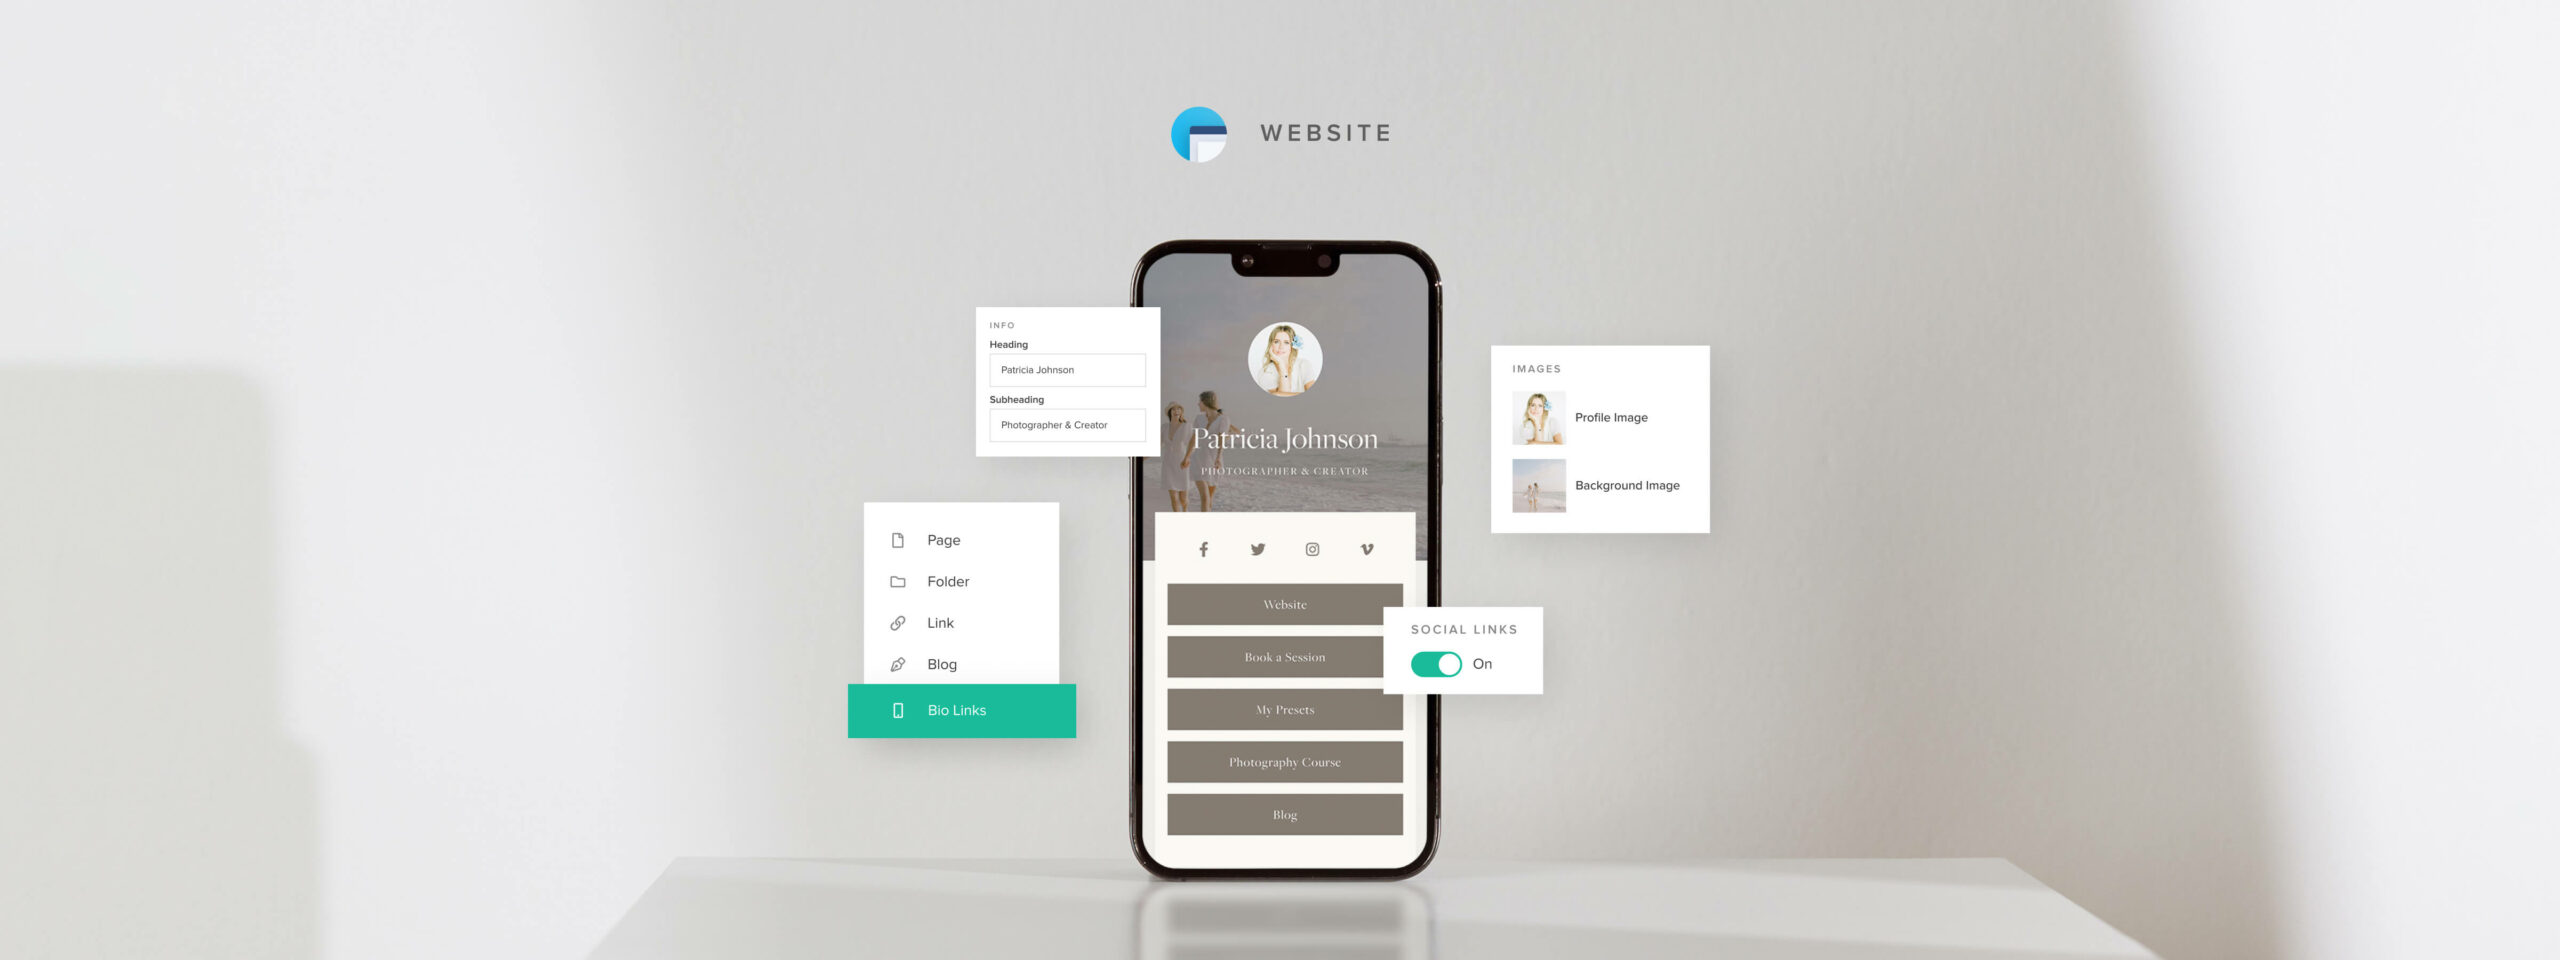
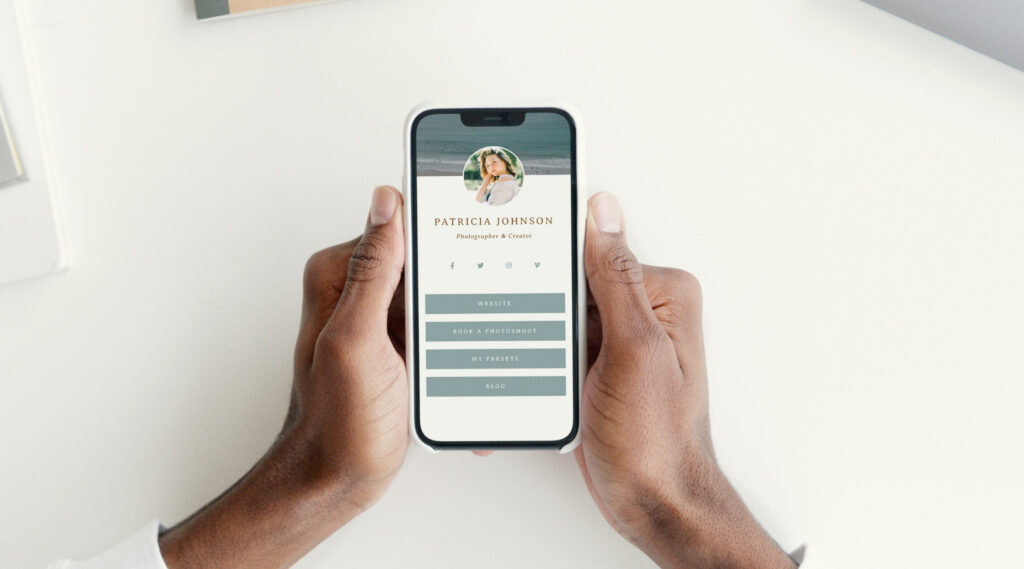
We’re thrilled to announce that now you can build a Bio Links page using Pixieset Website. Create a beautiful, on-brand page that presents all your important links and carries through your style to the tiniest detail. With Pixieset Bio Links, you elevate the experience you offer to each client who clicks through from Instagram, TikTok, Pinterest, and other social platforms. It’s the easiest and most elegant way to manage your resources, all in one place, and share them online.
Log in to your Website dashboard to set up your first Pixieset Bio Links page, or check out some demo examples here.
Simply put, Bio Links are convenient. If you keep updating your Instagram bio daily or include a long list of resources at the bottom of each email - you should set up a Bio Links page. Consolidate all essential resources on one page, so that anyone coming from your social media accounts can easily find the information, products and services they need. You can include recent blogposts, your latest course, or a best-selling product, link your Print Store, share your passion projects, showcase your photography portfolio, connect your booking site, or add the link where people can sign up for your email list. One handy page for everything.

Benefits of hosting your Bio Links on Pixieset
Having a Bio Links page integrated into your Pixieset Website offers a number of benefits:
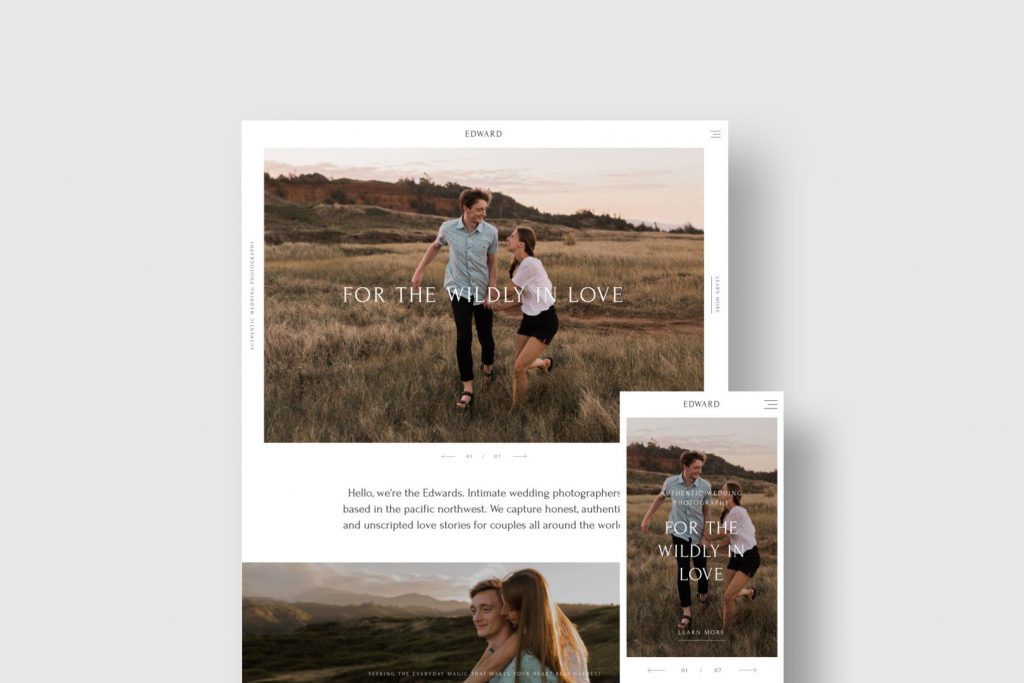
- It helps you achieve a professional and cohesive online presence across all touch points with your customers. From the moment a client views your Bio Links page, to the point when they browse through your website or view their delivered gallery - they will have the same, elegant experience with your photography brand.
- You can personalize your Bio Links page to match your brand and website style.
- It’s built for mobile first, so users can enjoy a smooth experience while browsing your links on their phones.
- It keeps all the incoming traffic on your own website and allows you to easily monitor, via Google Analytics and other analytics tools, where users come from (Instagram, Facebook, TikTok, email, etc).
- It removes the need to use other third-party subscriptions and keeps all your website tools under one roof.
Personalize it to match your brand and website style
Bio Links are designed to perfectly match your Pixieset Website theme’s aesthetic. From fonts and colors, to layouts and button elements - the Bio Links page is a visual extension of your site.
Start with one of the 4 ready-to-use layouts for Bio Links, available inside Pixieset Website. Implement it in a few clicks, add your details and profile picture, include links to important pages and resources, then customize your URL. For a stronger first impression, you can also upload an elegant background image, and you’re done! Your social media visitors will now enjoy a bespoke experience while browsing through your links.
How to set up your Pixieset Bio Links
Building your Bio Links page with Pixieset is fast and easy. If you already use Pixieset Website, head over to your site dashboard, click on “Add Page” and select “Bio Links”. Start personalizing your page and have it ready in just a few minutes. Check out this helpful tutorial for more details.
Not using Pixieset Website, but still want to set up Bio Links?
Know that you don’t need to host your website with Pixieset in order to use Bio Links. Enjoy it as a standalone feature, absolutely for free. Simply sign up for a free Pixieset account, and pick a theme to get started. Add a Bio Links page, customize it, set it as a Homepage, then remove all other pages you don’t need. Done! For more details, check our step-by-step tutorial here.


 Website
 Product
 Studio Manager