BLOG
How to get started with online photo proofing using Pixieset

Maybe you just finished your first photo session or you’ve done so many you lost count. One way or the other, once you’ve put the camera away it’s time to go through the pictures, connect with the client, see which ones they like best, and edit them. This process is also known as photo proofing.
What is photo proofing?
Essentially, photo proofing is the best way to showcase all your work to the client and collaborate with them on choosing their favorite images, which will then be retouched and delivered. Taking that into account, the images you share initially are not the final version of your creative work and are provided shortly after the photo session. At this stage, it’s common practice to share images of smaller sizes or even opt to apply a watermark. The goal is to share all the images taken during a session before these are retouched or creatively edited by the photographer.
Photo proofing is recommended for sessions when the client hires you for a fixed amount of photos. Some of the most common uses include image licensing photo shoots, commercial sessions, or photo shoot packages with a hard image limit. Thanks to the collaborative nature of the photo proofing process, you can enhance the client’s experience and ensure you’re providing them with the best final product.
You can set up a manual process of photo proofing, yet, it would involve a lot of back-and-forth communication to share and confirm final images with the client. And while this works, there are better, faster, and easier ways to do it. Namely — online photo proofing. Luckily, Pixieset Client Gallery has a built-in proofing system that makes this a quick and effortless experience, both for you and your client.

Why use online photo proofing?
There are several notable reasons to opt for online photo proofing, as opposed to its traditional counterpart.
You save time
The most time-consuming part of manual photo proofing is the countless hours spent on back-and-forth emails, communicating and approving with the client. Across multiple photo sessions, these hours can build up into days and even weeks. An online proofing tool can help you automate the process and save time, which can then be invested into new clients or passion projects.
Your client saves time
Besides the time that you save for yourself, there’s the time you save for your clients. Regardless if it’s their first time photo proofing or if they’ve done it before - they will appreciate a smooth and quick process. With Client Gallery they can simply “like” their favorite images and leave comments, all inside a beautiful and easy-to-use interface.
You can sell more photos
Another benefit of photo proofing is that your client gets to see ALL the images you took during a session. This is a great opportunity to actively involve the client in picking the final images, as well as to motivate them to select additional favorites for an extra fee. Client Gallery makes it easy and effortless since clients can purchase digital downloads directly from their photo collection, thanks to the integrated online store.
You provide a seamless, memorable experience
The business of photography involves much more than simply taking photos and delivering them to the client. Providing a unique, pleasant experience is what can set you apart and help spread the word about your services. By opting for an online tool, you ensure that the photo proofing process is smooth, streamlined, and fully integrated into their gallery. All they have to do is “like and comment” on their favorite images.
Online proofing with Client Gallery
Now that we’ve gone over what’s online photo proofing and its benefits, let’s take a step-by-step look at how this process looks inside Client Gallery by Pixieset.
1. Upload and send the photos
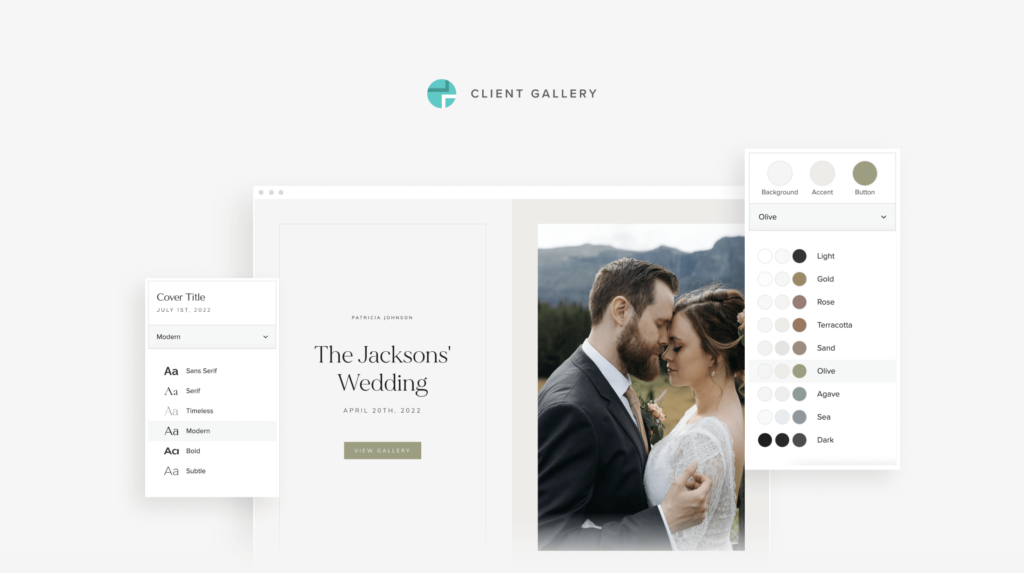
First things first. You will need to create a dedicated photo Collection for your client. This is easily done by uploading all your photos from the session. At this stage, you can also go ahead and customize the design of your Collection, by editing fonts, colors, grid spacing, as well as selecting a beautiful cover from the provided options. Each Collection you create can be fully customized to fit the theme of the session. The next step is to go to the Collection settings and turn on the Favorites feature.
Next, you can set up the download file sizes that the client will have access to (i.e. original file size vs high resolution vs web size). You can also choose to turn off photo downloads all together, or add a watermark to all images. Once ready, share the photo Collection with your client. They can access it from any device, at any time. Here’s everything you need to know about delivering photos and videos with Pixieset.
If your client paid for a set amount of photos, you can limit the number of images they get to add into their Favorites list. We also recommend turning on Store inside the Collection, and setting up your Pricing Sheet so it includes digital downloads. This will allow your client to purchase additional photos on top of their original package.
2. Use the Favorites list feature for photo proofing
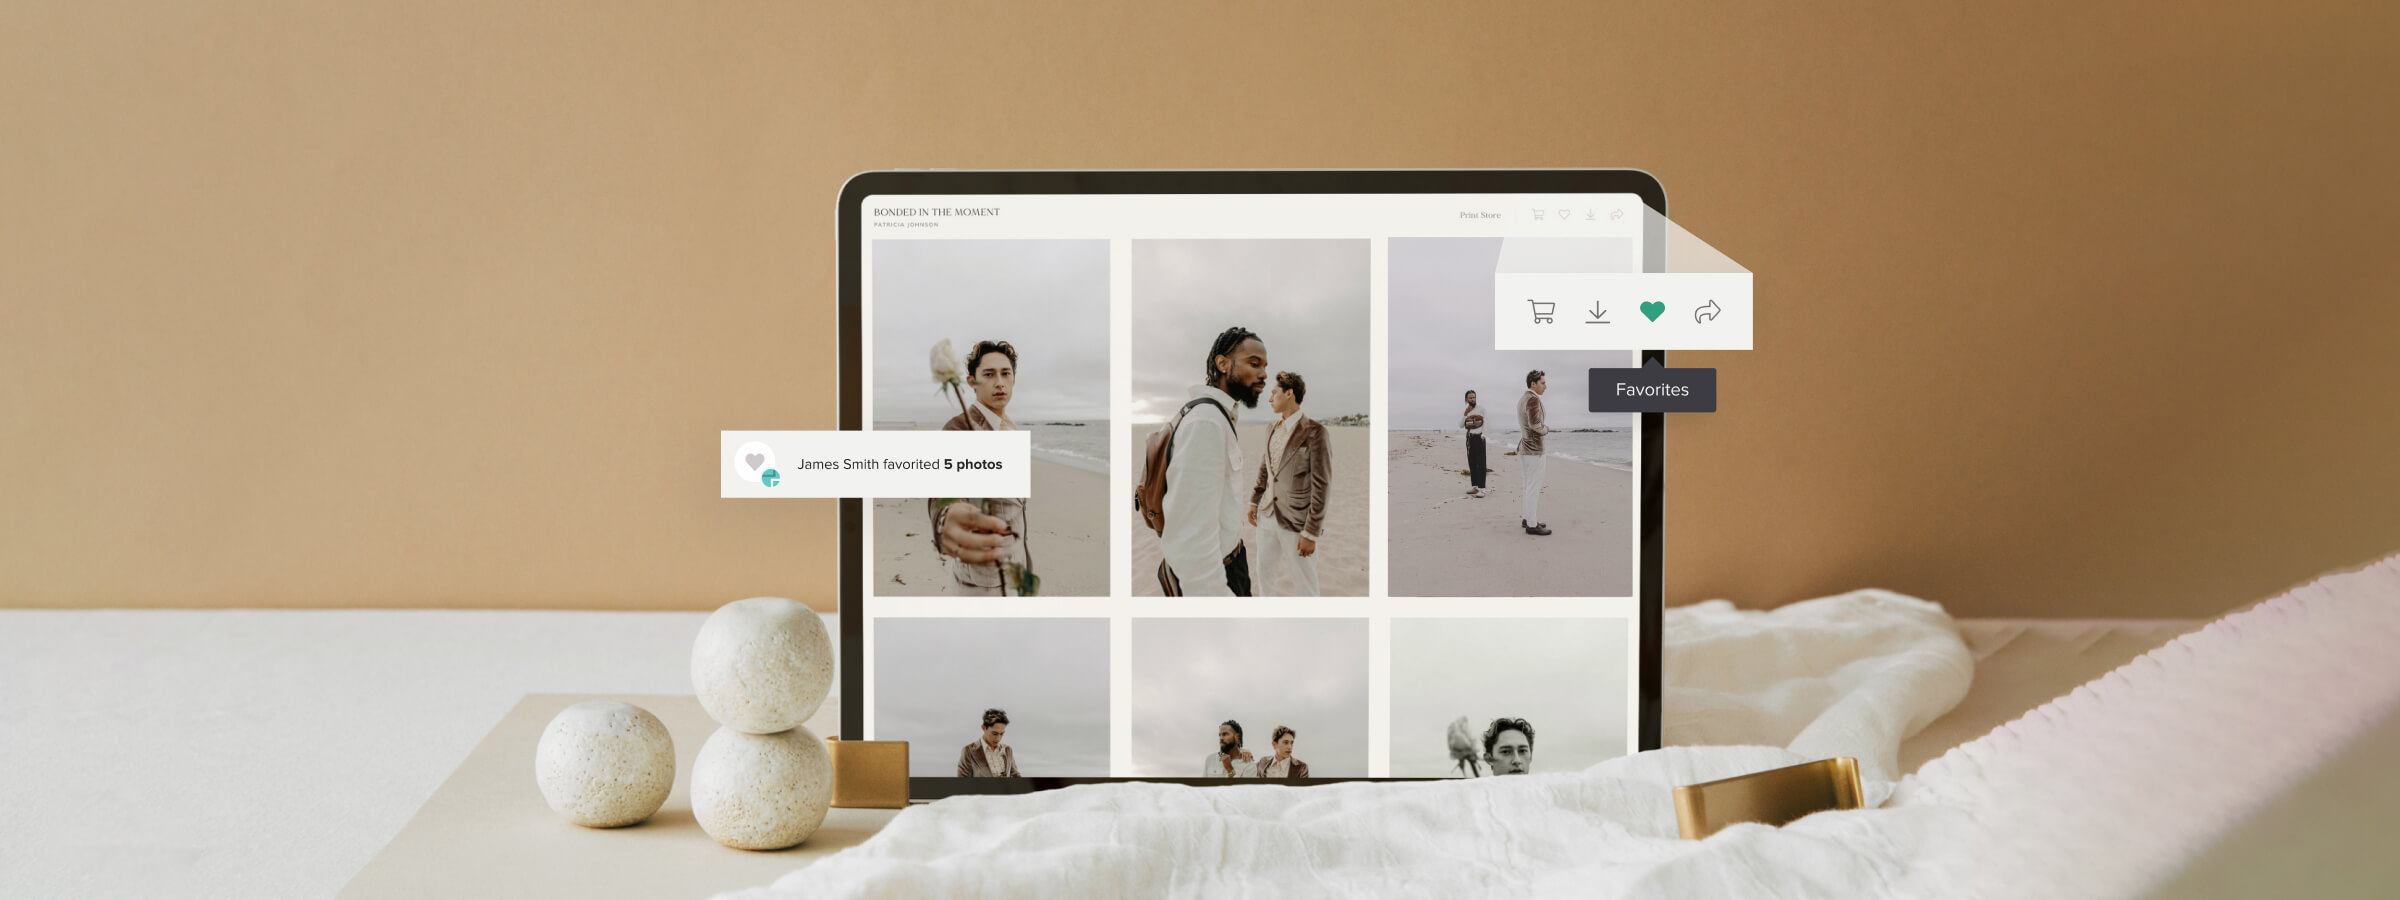
Inside the gallery, clients will see a heart-shaped icon, when hovering over an image. By clicking on it, they add the images to a Favorites list. For the first image they “like”, clients will be prompted to add their email address to save the Favorites list. Afterwards, they can create as many lists as they wish within a single gallery. Here is a video tutorial to guide you through the process.
Clients also have the possibility to leave notes on photos inside their Favorites list and write specific editing requests. You can review all the comments and activity from your dashboard, before beginning to edit the photos.
BONUS! To help your clients through the photo proofing process — turn on Client Gallery Assist cards. These will guide them through each step and option available inside their photo collection.
3. Export the chosen photos
Once the client is done choosing the images, you can download the Favorites list from your collection dashboard. To expedite your editing process, we recommend taking advantage of the Pixieset Lightroom plugin and the Lightroom Copy List feature. This allows you to sync your Lightroom app with your Pixieset dashboard, and import the client’s Favorites list directly into your LR app in a matter of seconds. If you are a Capture One user, simply use the Lightroom Copy List feature, and turn off the “Include Commas” toggle before copying the list to your clipboard. From here you can go straight into editing mode.
Once you’re done, you can sync the images from Lightroom with your Pixieset collection, and replace the photos with the new, edited ones.
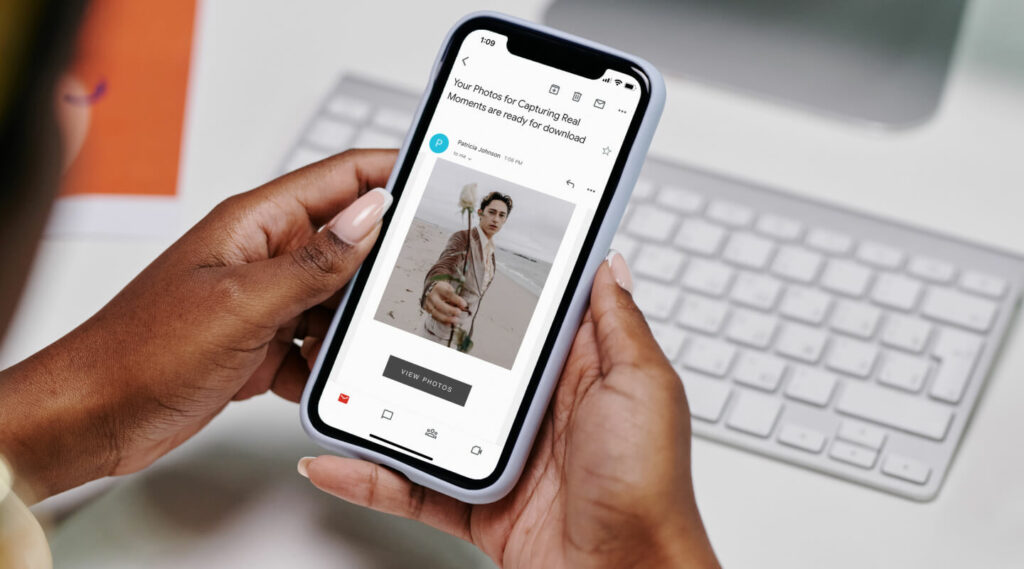
4. The client downloads the final images
Here’s the most pleasant part of the online photo proofing process. When all the selected images have been retouched and re-uploaded to the collection, go back to the Favorites list and click on ‘Send as Download’. Your client will receive an email with the option to download the final set of images. That’s it. After having experienced such a quick and enjoyable process, your customers are bound to return and recommend you to their friends.
Get started with photo proofing using Pixieset
Client Gallery can significantly enhance the experience you offer to your clients when proofing images and delivering your work. It’s a collaborative process that results in stronger relationships and happier clients. Learn more about photo proofing inside Client Gallery through our help articles.
If you’re new to Pixieset, sign up for a free account, explore all the features and discover a better way to deliver your work and proof it online.
Change the way you proof today, with Client Gallery by Pixieset

 Client Gallery