BLOG
What’s new on Pixieset | September 2023 Updates
Discover the latest features and options available with Pixieset. Our team remains dedicated to helping photographers run their business in a simple, effortless and efficient way. In the past months, we introduced new features for our entire suite of products, to help you book more client meetings, manage your growing portfolio, keep track of leads, and more.
Watch this quick video for an overview of the latest updates and find additional helpful resources below.
Client Gallery and Store updates
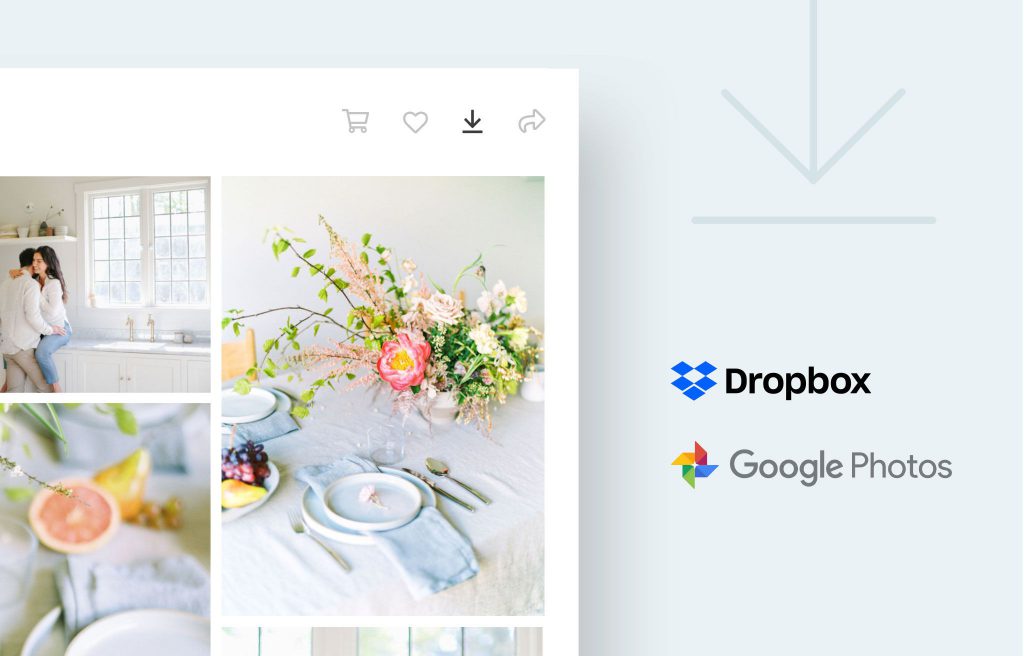
Limit photo downloads from your galleries
You can now add a download limit to any collection, and restrict the number of photos that are downloaded. Go to your Collection’s settings > Download, and click on Advanced Settings. Apply a limit per gallery or per client, and track how many photos have been downloaded.
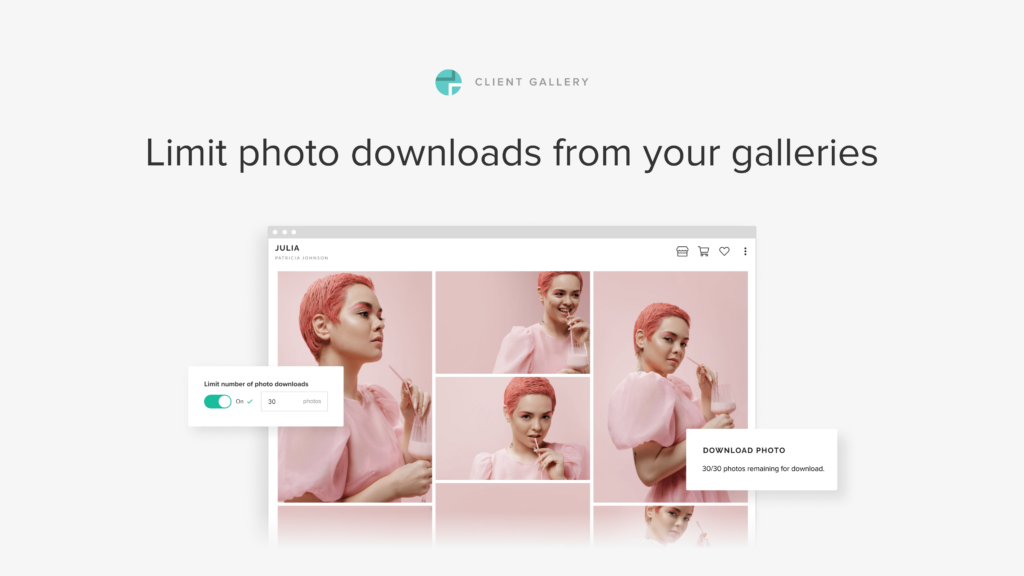
Your clients can also check their download activity directly in their gallery, seeing how many photos they've downloaded so far and how many they still have left as part of their package. Learn more about the updated download settings inside Client Gallery.
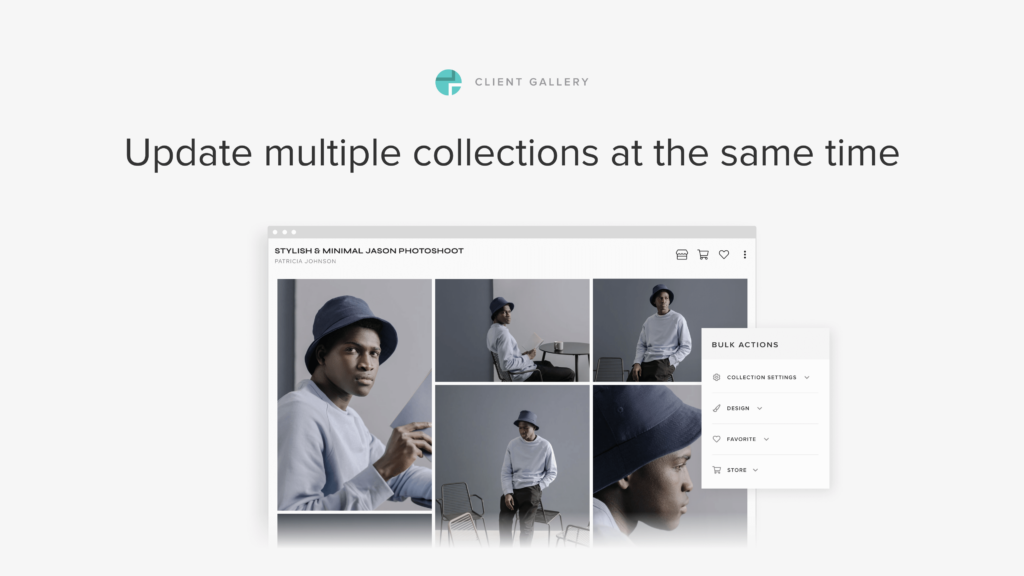
Update multiple collections at the same time
Do you need to quickly update a group of collections? Now you can do so with the Bulk Edit feature. Select the collections you want to adjust, then apply all the changes at once. This can be something as simple as switching the collections’ status to “published” or “hidden”. Or more complex tasks, like adjusting fonts, colors, and grid style, enabling the Store or Favorites feature, and more. Learn more about the Bulk Edit feature and enjoy a faster process when updating a large group of galleries.
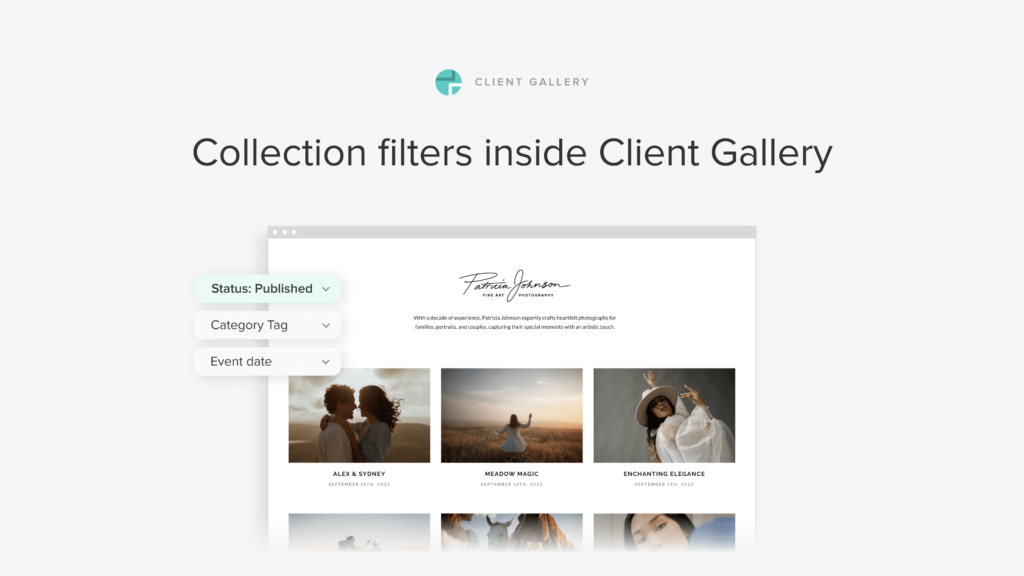
We’re introducing Collection Filters to assist you in organizing a large portfolio of galleries inside your Pixieset account. You can filter collections by Status, Category Tag and Event Date, to find them faster. For example, if you want to view all the weddings you photographed last year, you could use the Category Tag “wedding” and Event Date from January 1st to December 31st, 2022. Learn more about collection filters inside Client Gallery.
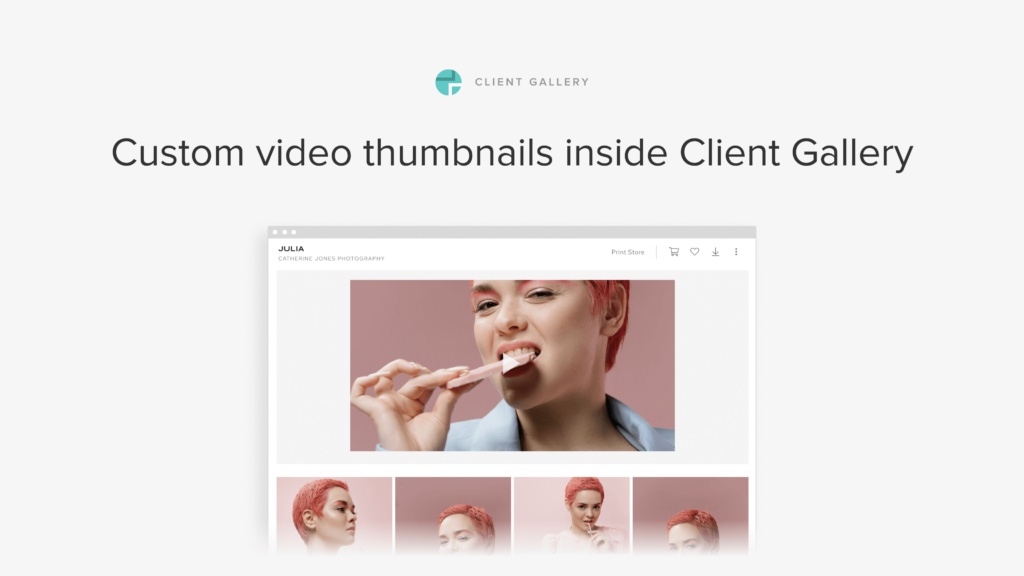
Add custom thumbnails to videos
When delivering videos to clients, enhance their viewing experience by including a custom thumbnail. To do this, choose a video from within your collection, click on More (...), then Custom thumbnail. You can pick an image directly from the collection, or upload it from your computer. Learn more about how to change the video thumbnail inside your collection.
We’ve added an easier way to share your work with clients and leads. Now you can generate QR codes for your photo collections. Incorporate them into your business card and printed materials, as an excellent way to showcase your work at events or workshops. You can also save the QR code on your phone, allowing people to scan it while chatting with you, and checking your portfolio.
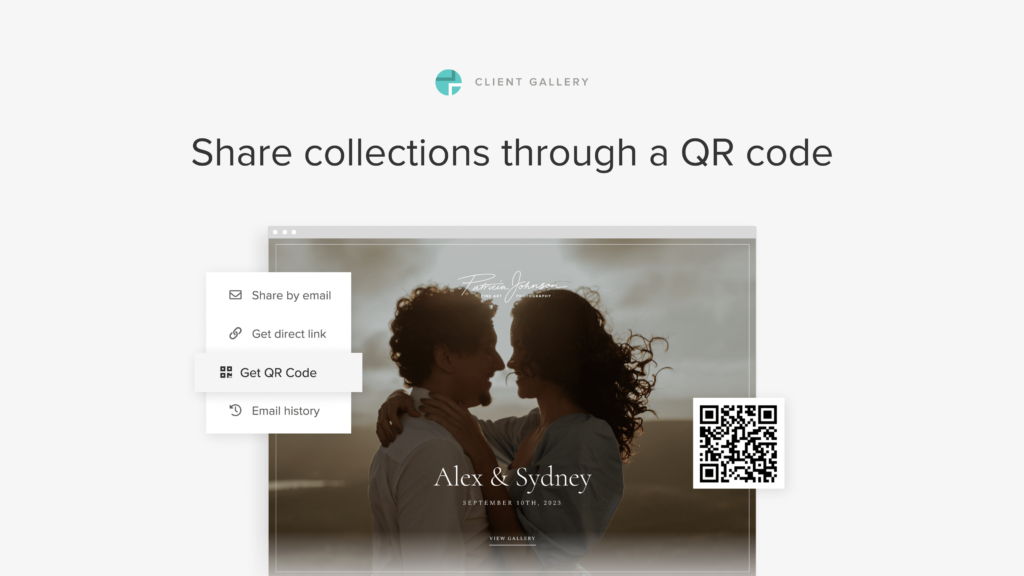
Inside any collection, go to Share > Get QR code, and download the QR code to your computer as a PNG file, which can be easily integrated into your marketing materials. Learn more about sharing a collection via a QR code.
Use the same contact list inside Client Gallery and Studio Manager
We know how important it is to manage a growing list of clients, from the initial booking stage to delivering the final work. To streamline this process, we're introducing a shared contact list between Client Gallery and Studio Manager. Now you can use the same list of clients when creating documents, booking sessions, or delivering galleries.
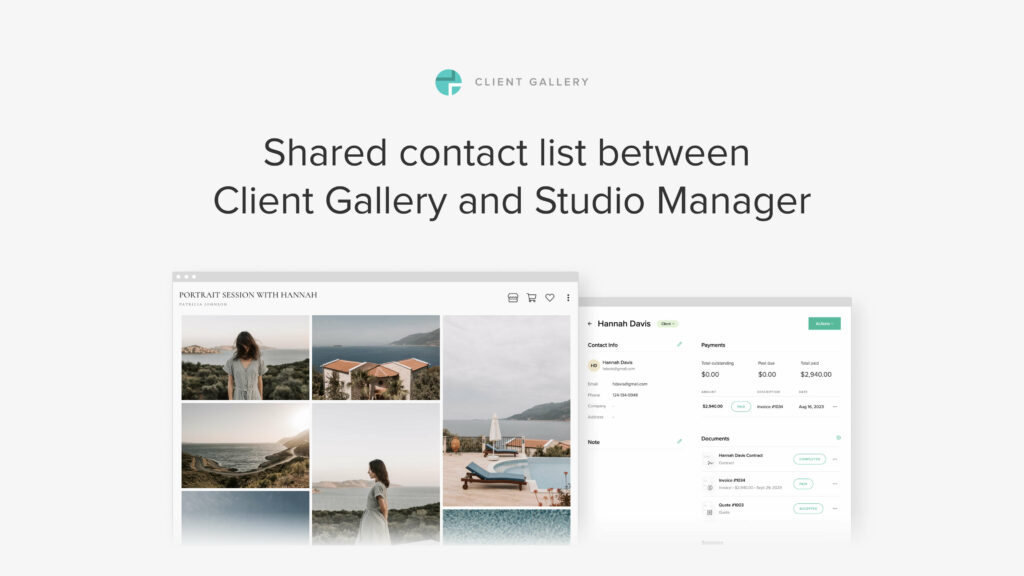
For example, you can add a client to a photo collection directly through Client Gallery, or assign a contact from your existing Studio Manager list. You can view all the essential information on the client’s details page. Their booked sessions, the contracts they signed, the invoices they paid, and the photo collections they received. Learn more about creating and managing your client list inside Pixieset.
Studio Manager updates
Add videoconferencing to your client meetings
Do you offer virtual sessions, mentorship calls or photography consultations for your clients? With Studio Manager, you can now seamlessly schedule video calls directly through your Booking site. Thanks to a seamless integration with Zoom and Google Meet, when a client books a call with you, they’ll receive all the details via email, including an auto-generated meeting link.
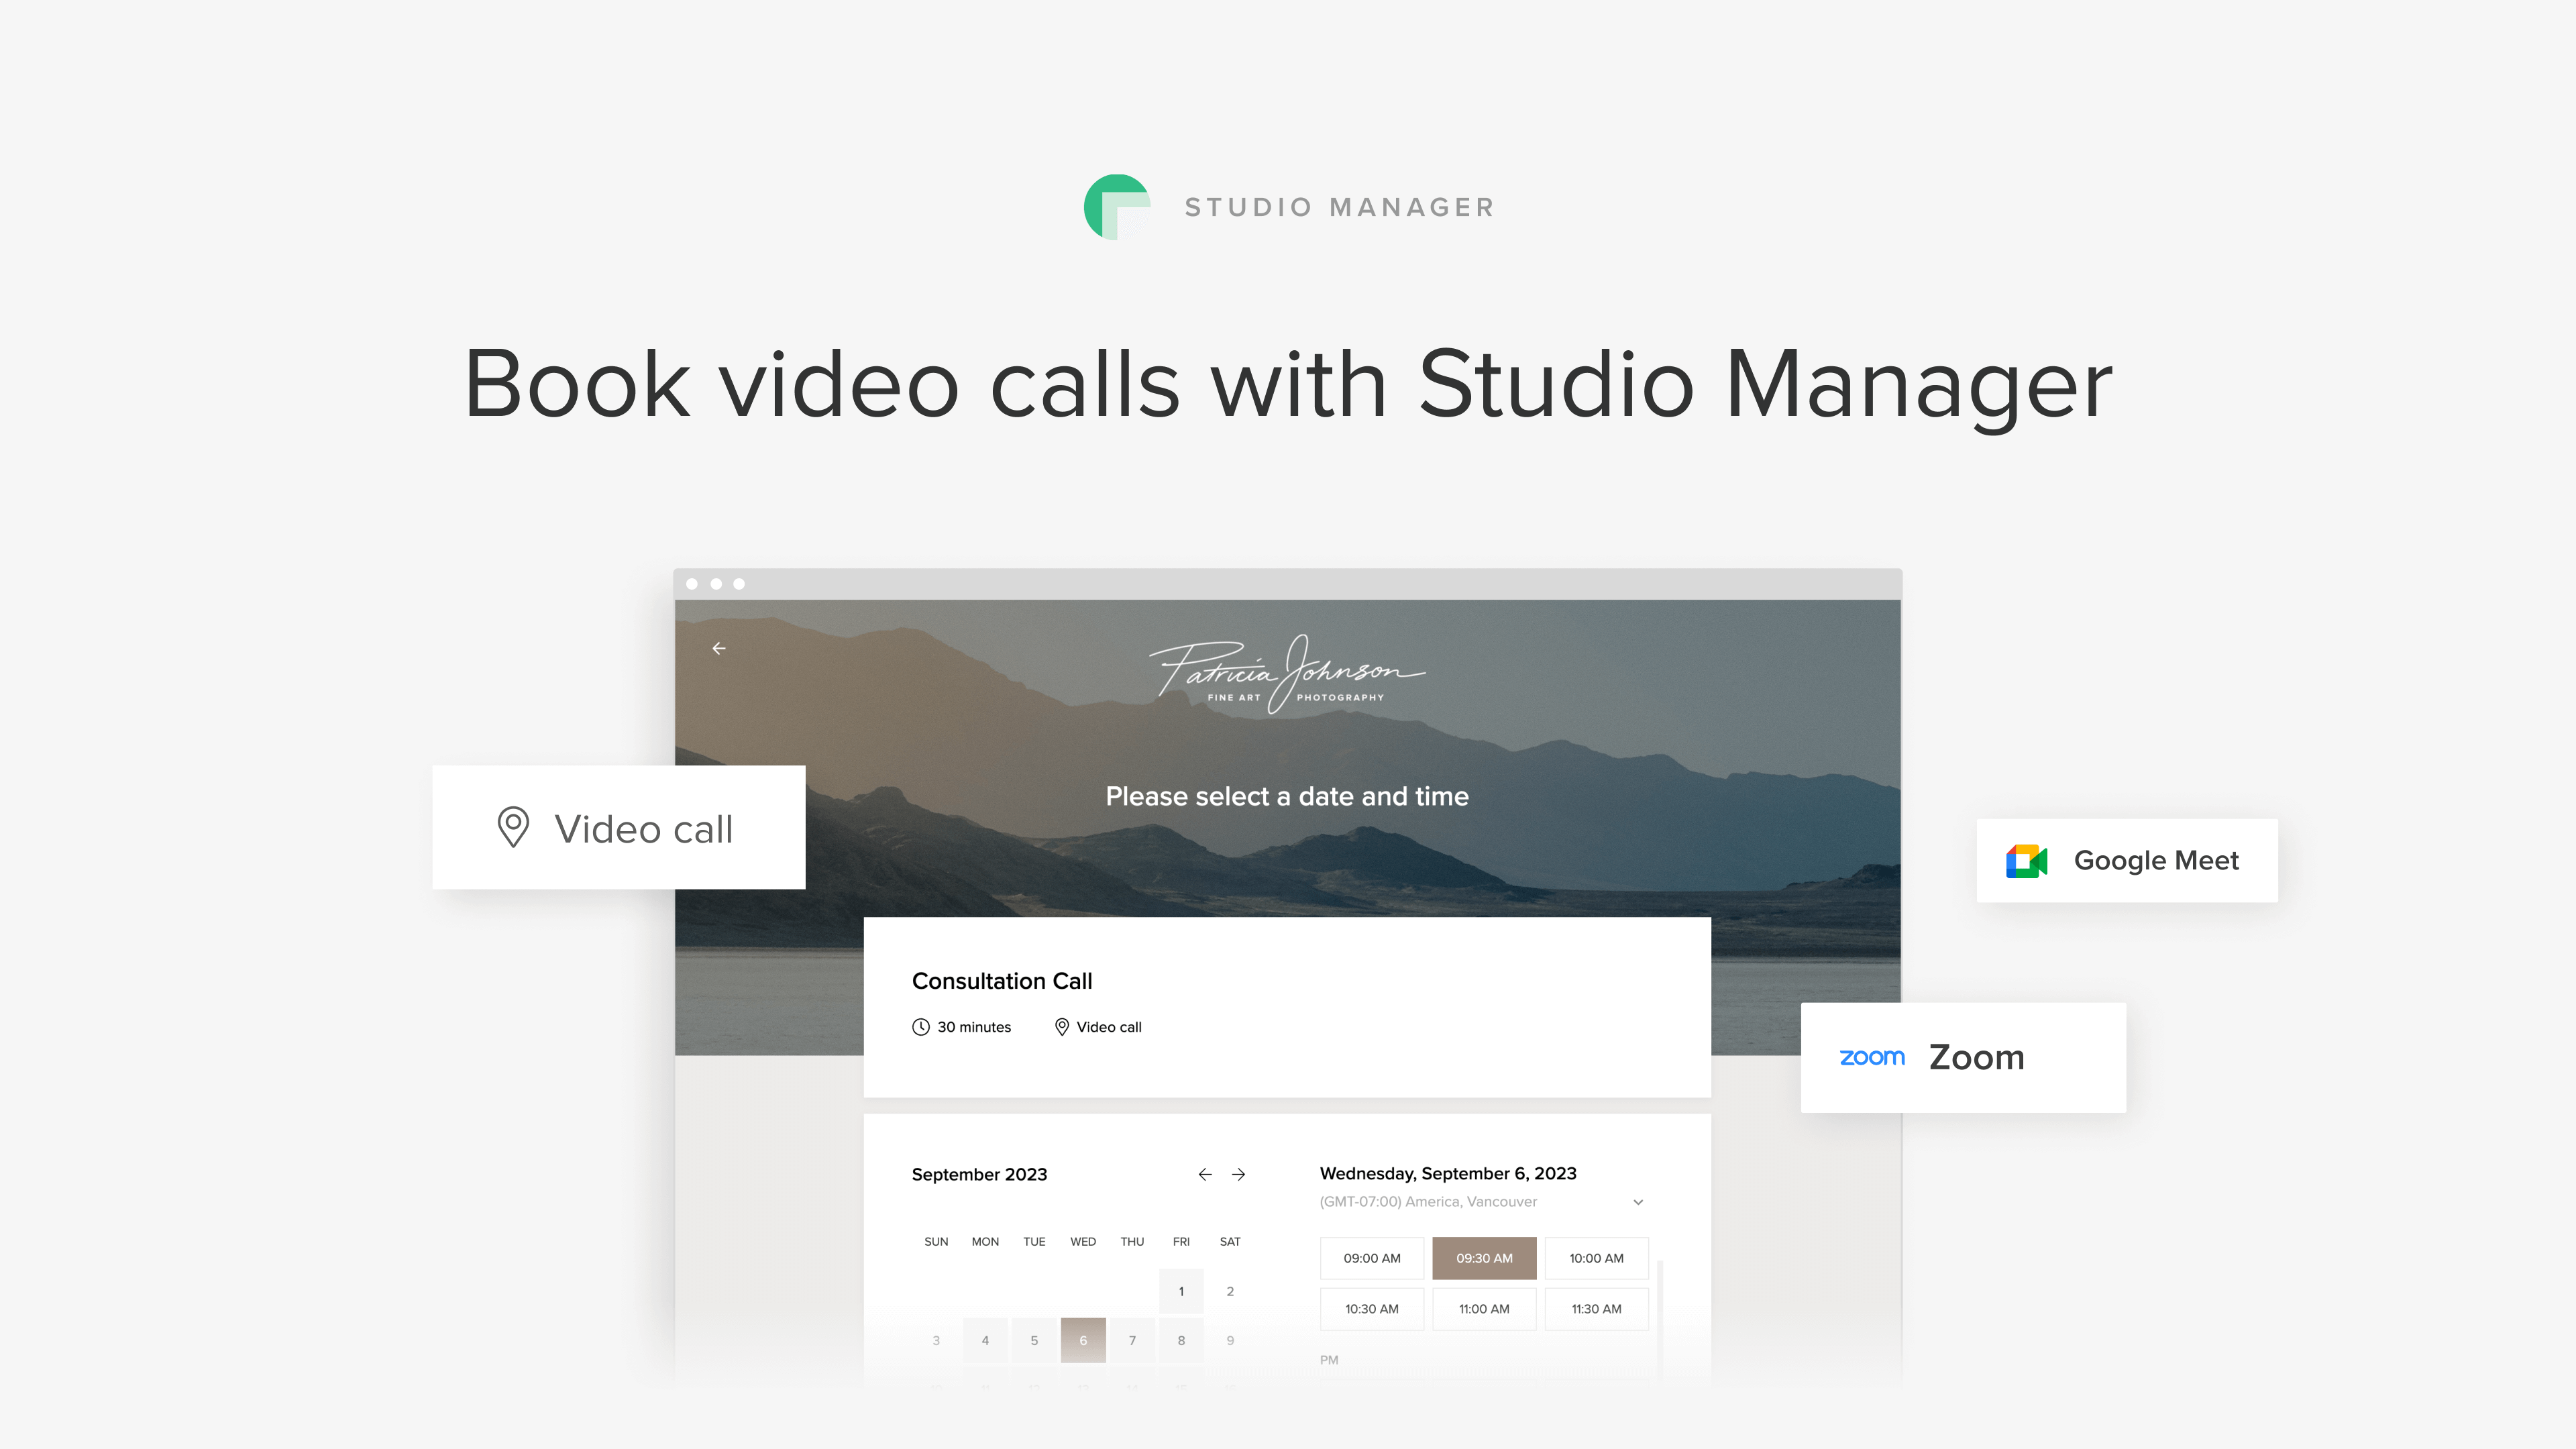
First, you’ll need to connect your Zoom or Google account in your Studio Manager Dashboard > Settings > Integrations. Then, inside your session type, under General > Location, choose Zoom or Google Meet, to set up your remote meeting.
Label contacts as Clients, Leads & Other
To help you easily manage all your contacts and keep track of your communication with them, you can now categorize contacts into Clients, Leads, or Other. We’ve also added a quick automation: when a contact pays an invoice or schedules a session, Studio Manager will automatically label them as a Client.
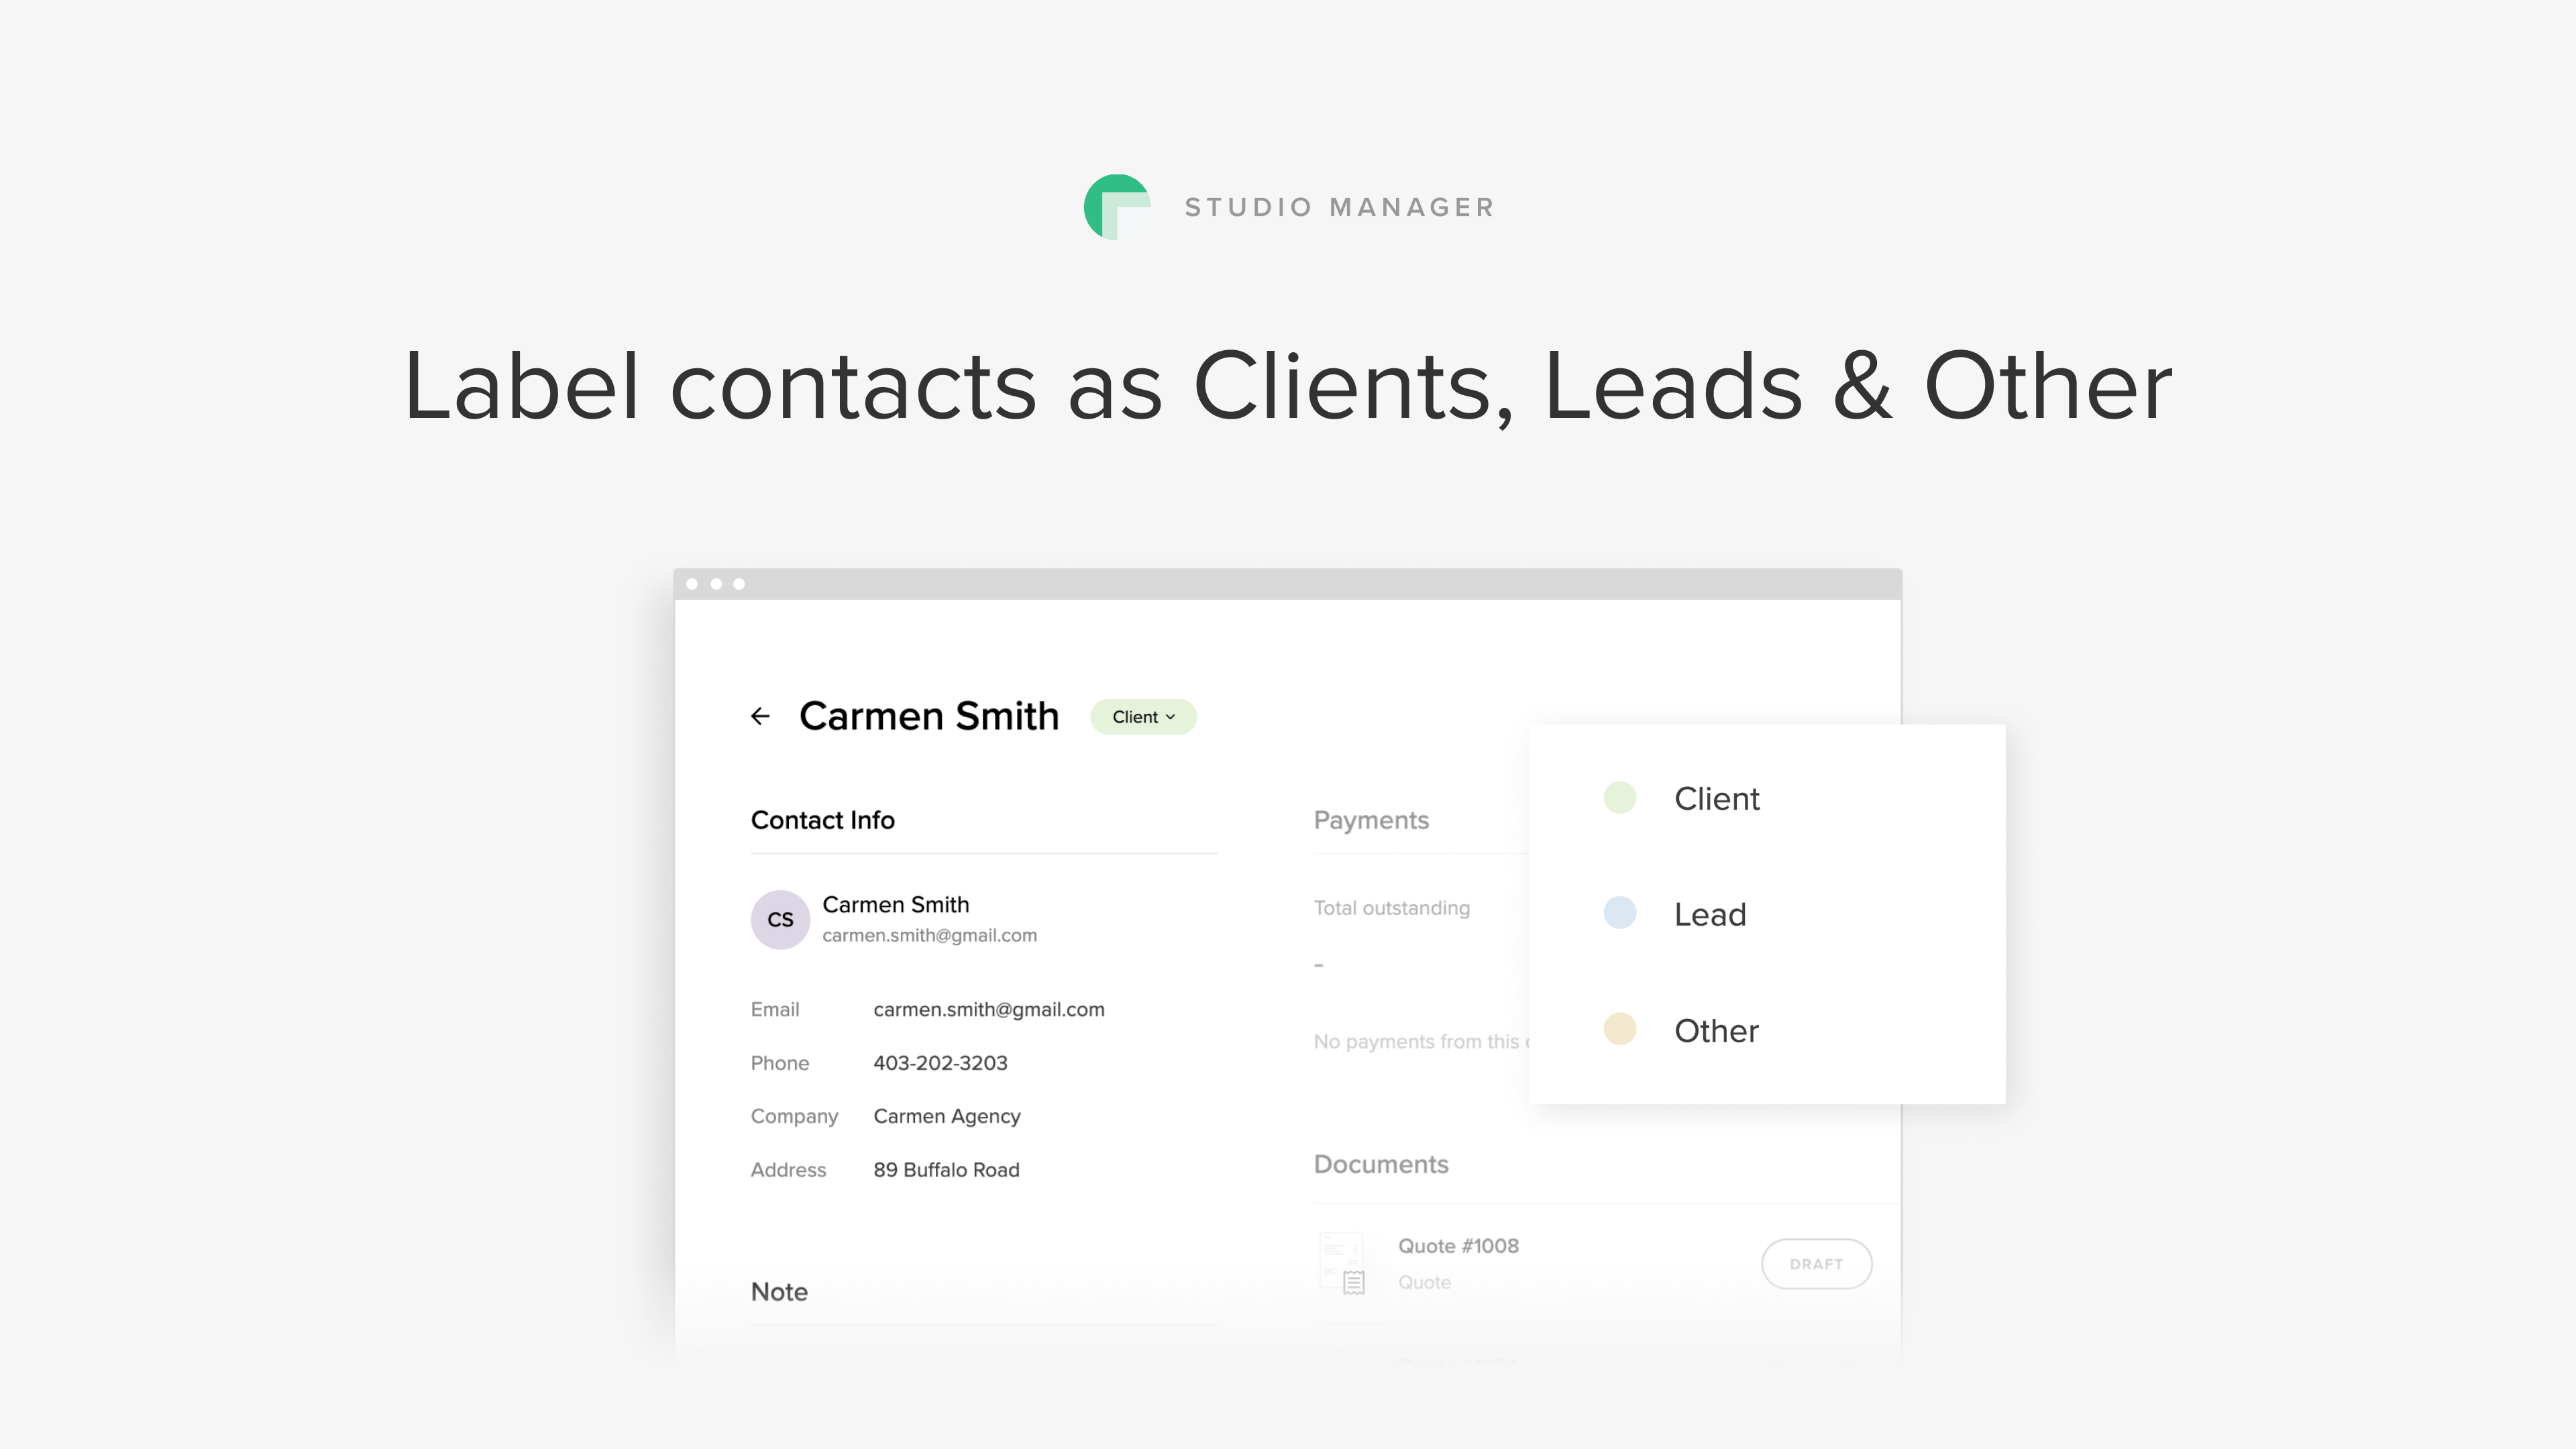
To try out this feature, open the Contacts tab in your Studio Manager dashboard, create a new contact or select an existing one, and choose a suitable label from the dropdown next to their name. Learn more about this option here.
Import clients from other apps into Studio Manager
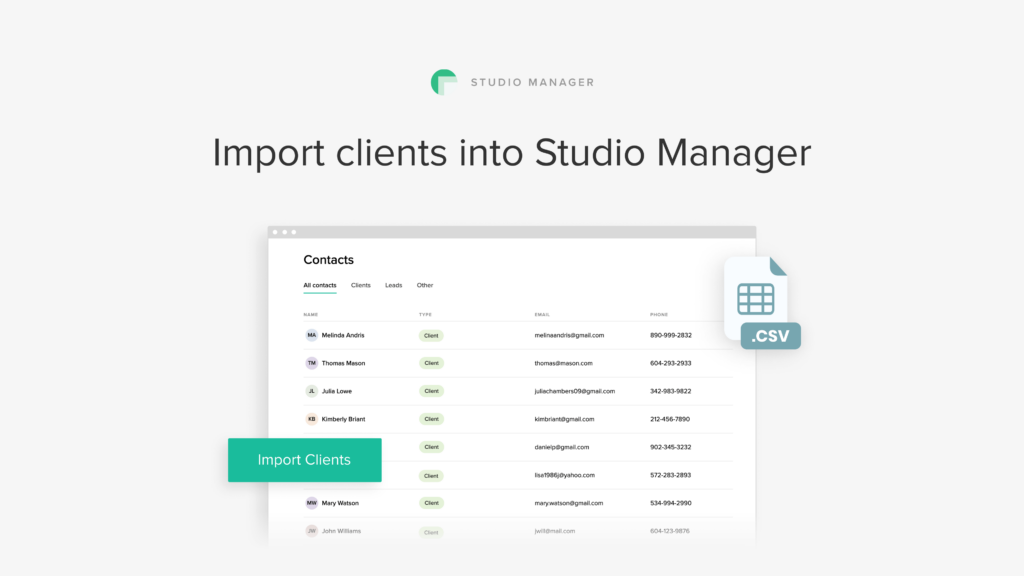
Now you can add large groups of clients into Studio Manager in one go. This is helpful if you already have an established list of clients in a different tool and would like to transfer it to Studio Manager. It can also speed up the process when adding a list of contacts after attending an event.
Inside your Contacts tab, click on Import, then upload a CSV file with client information. Studio Manager will automatically populate the corresponding fields inside the client profiles. Learn more about importing contacts to Studio Manager
Contact forms inside Studio Manager
Now you can create custom forms inside Studio Manager, embed them into your Pixieset Website to capture leads, or share them through a direct link, with prospective clients. When someone fills out the form, they will automatically be added to your contacts list inside Studio Manager, as a Lead, Client or Other — depending on your form setup. You can also embed your Pixieset contact form into third-party website builders.
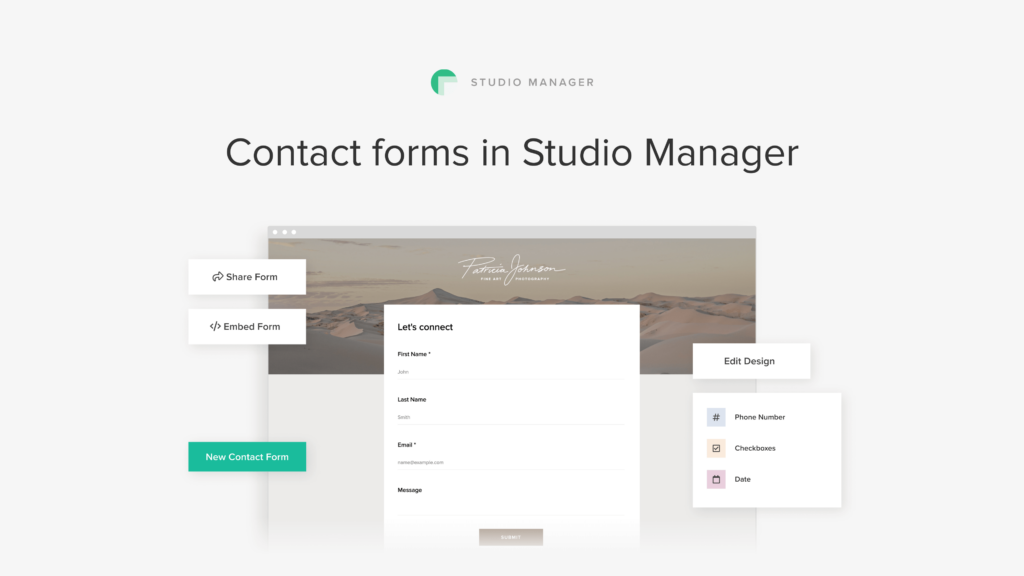
To get started, go to your Contact Forms tab inside Studio Manager > New Contact Form, then starting building your form. Use the default template, or customize it by adding or removing question fields. You can also include a form title, personalize the message that will be displayed after the form is submitted, and more.
Once your form is published, get a direct link that you can include in emails and social media profiles, or incorporate it into your website via the custom embed code block. Learn more about capturing leads with Contact Forms.
Pixieset Website updates
New website theme - Nordik
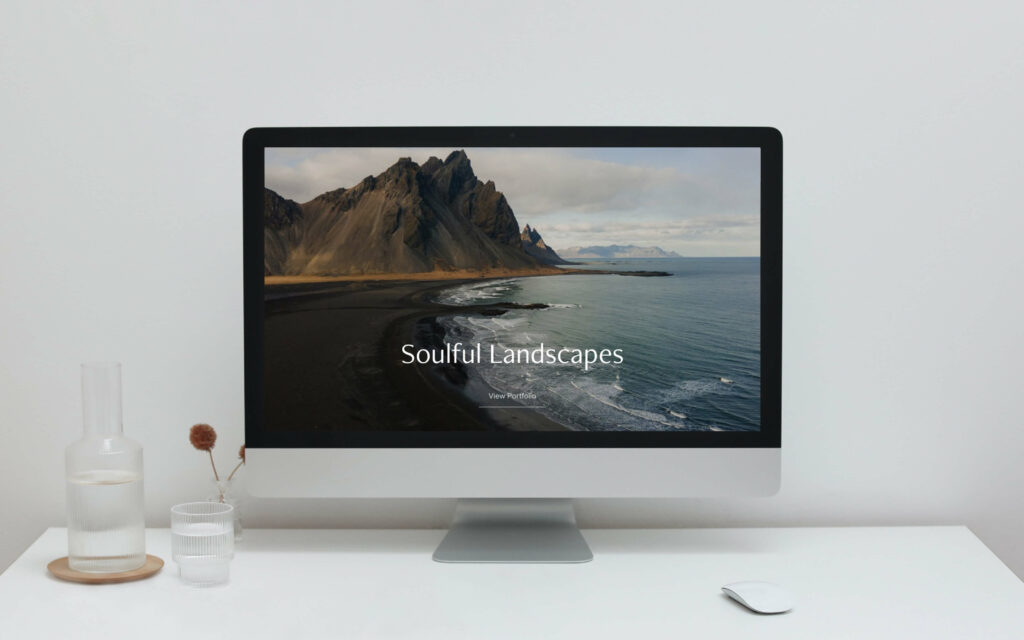
Nordik is a nature-inspired website theme, featuring a clean, minimalist aesthetic that invites visitors to get immersed and discover more as they browse your site. Nordik is designed for the mindful, confident photographer who lives in the present, doesn’t rush through life, and possesses a strong authentic style.

If you're looking for a website theme that truly represents your personality, don't hesitate to apply Nordik. Open your Website dashboard > Design > Change Theme and choose Nordik.
Head over to your dashboard to discover all the features and let us know your favorite. If you’re new to Pixieset, sign up with a free account to start exploring all the tools for your photography business.

 Product
 Client Gallery
 Website