BLOG

20+ Features inside Pixieset Website you probably didn’t know about
Building and maintaining a website can be fun and empowering when you have an easy to use and intuitive tool - such as Pixieset Website. If you’re curious to try it out, read this step-by-step guide on starting your first photography website with Pixieset.
We selected 20 features available inside Pixieset Website that you might not know about, but will definitely enjoy. Some of these options will help you better present your work online, while others will give you insights on how to make your website more accessible for potential clients and for search engines.
01. Stunning starter themes with pre-made page layouts
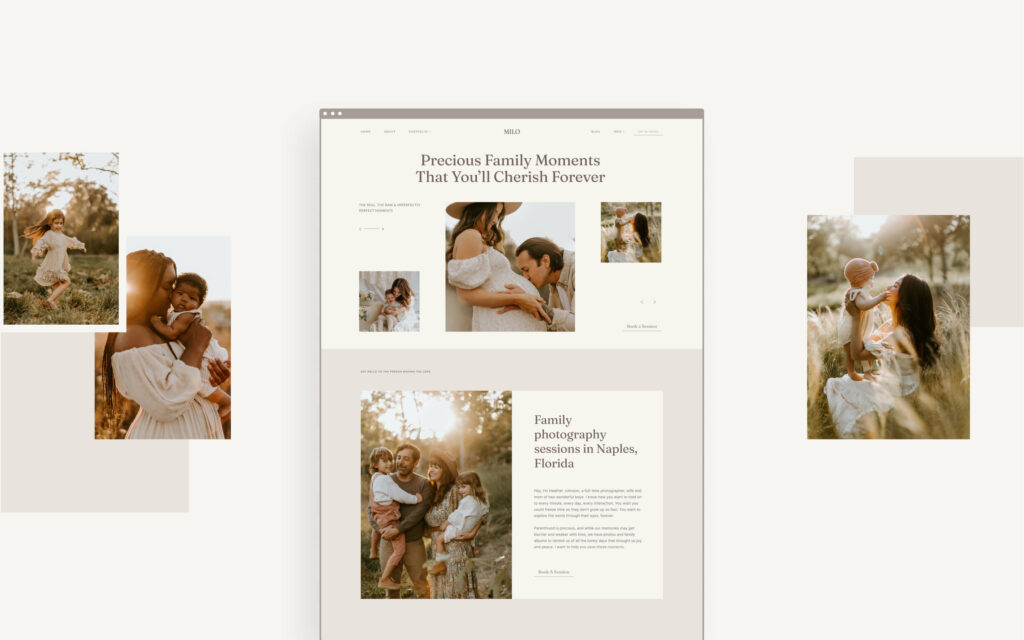
Getting started with your Pixieset website is truly effortless. The first step is picking a theme. Once you apply it, all the pages will be installed for you. All you have to do is add your own images and text. Since our themes are tailored to the needs of photographers, each page layout is designed to help you efficiently showcase your work and sell your photography services online.
02. One-click theme switch
Any time you fancy a website refresh, you can easily switch to a new look. Change your website theme in seconds, without losing content. New styling will apply seamlessly, while your images, text, and videos will transfer over to the new theme. To change your website theme, go into your Website Dashboard > Design > Change Theme.
03. Curated Page templates
Figuring out how to present your content and ideas on the website can be time-consuming and overwhelming. Our team did the research for you and created a selection of beautiful, predefined page templates - all tailored specifically for photographers. Go to your Website Dashboard > Pages, click on “+Add Page” > Add a new page, and pick one of the curated templates. Apply your favorite layout and swap the default content with your own. That’s it!
04. A library of ready-made blocks
If you need to add a new page section to your site, all you have to do is click on the “+” button anywhere on a page, and select a preferred layout from an extensive block library. More than that, these blocks can be repurposed to present different chunks of information. Let’s say you have a testimonial block. Change its layout and content and turn it into a fun-facts slider, a section to present steps and process, or a list with your offerings.
05. Multiple layout options for each block
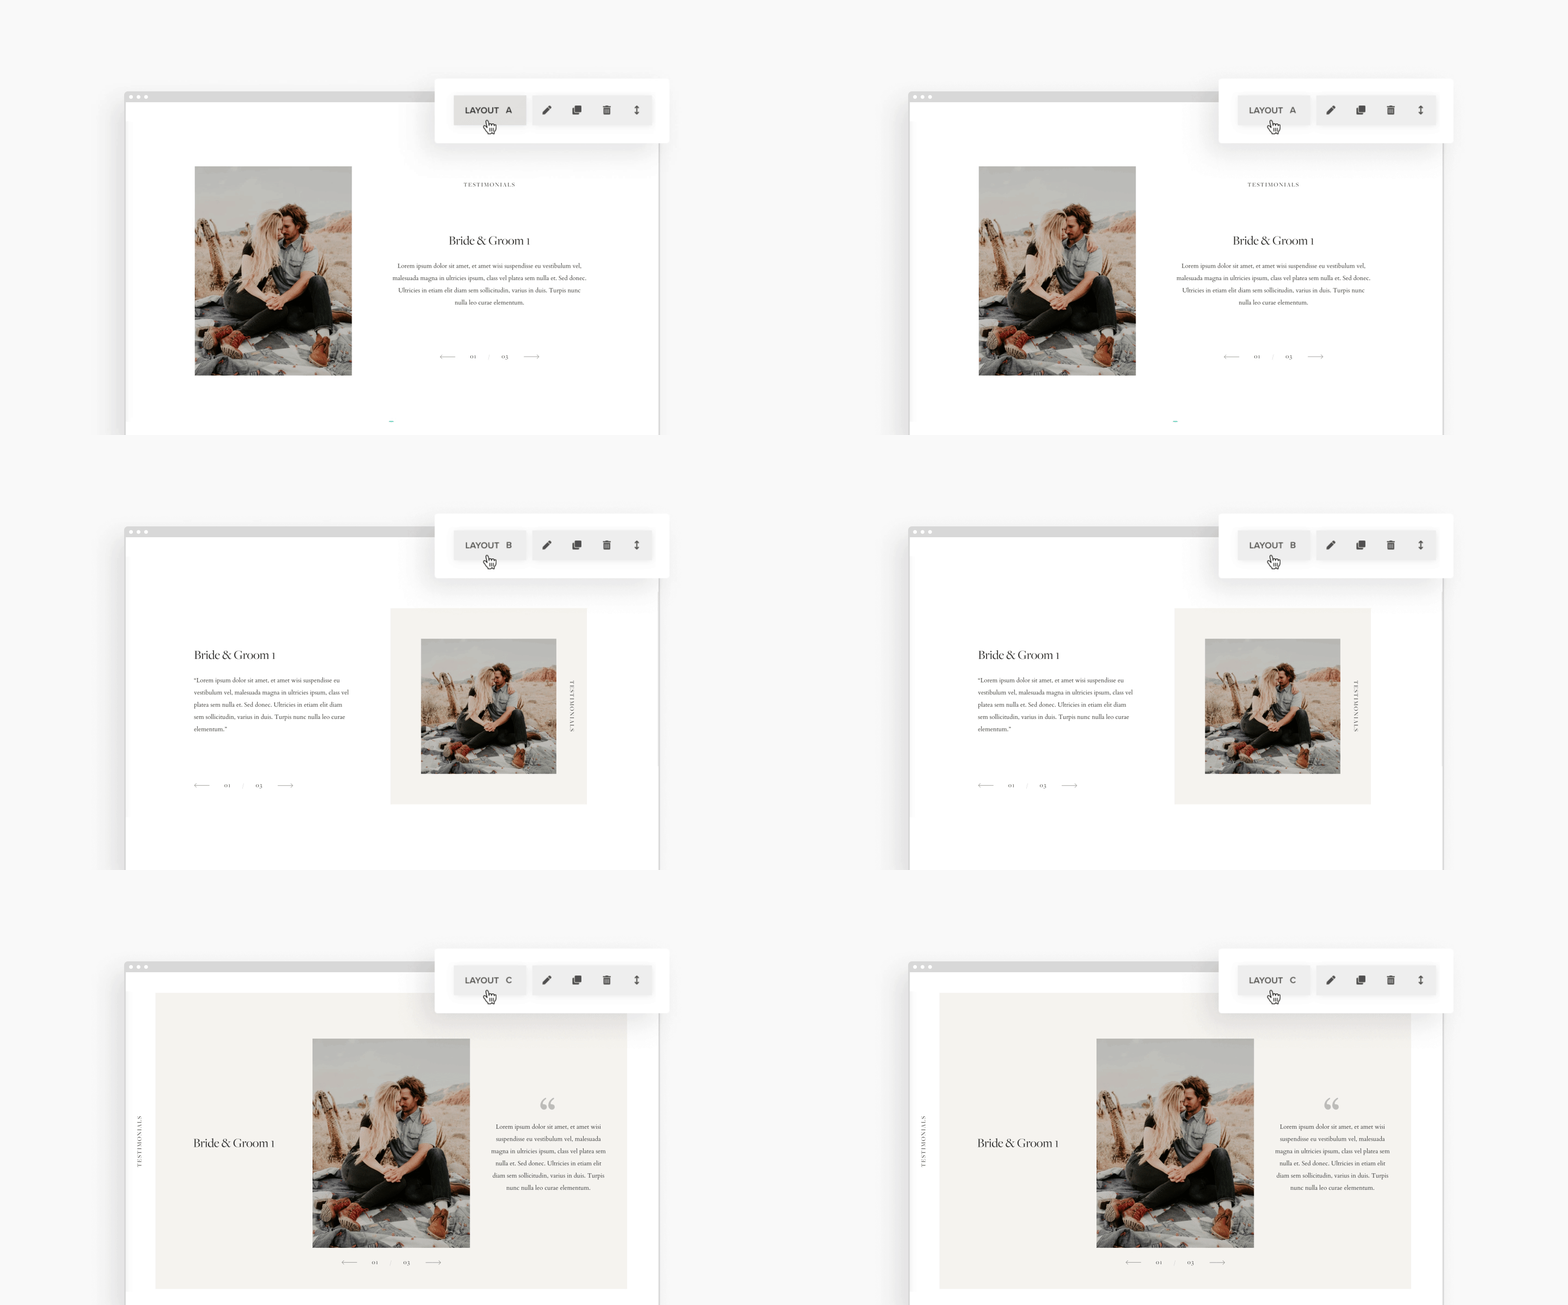
Suppose you want to add FAQs to your site. When you access the block library, you have 3 layouts to present FAQs - as a dropdown, as an expanded view, or as a grid. Or if you have the block already on the page, you can switch its look instantly when clicking on “Layout” at the top of the block section. All the blocks on your Pixieset website have this functionality, to help you effortlessly update the way you present content, directly on the pages. So easy!
06. Website customization options
As creatives ourselves, we know the importance of having an online space to express yourself fully. Big or small details on your site - such as fonts, colors or buttons, can have a huge impact on how your personality shines through. Your website includes a series of features that allow you to easily customize it.
With Pixieset Website you can:
- Personalize your website with advanced color options. Go into your Website Dashboard > Design > Colors to get started with one of the 40 ready-made color palettes. That's 200 tailored color combinations, ready to be applied to the whole website, to individual blocks, or to selected words or sentences within individual text blocks. Here are some cool font and color ideas to apply to your photography website. You can also use your own brand colors to create custom schemes and apply them site-wide.
- Personalize fonts. Inside your dashboard, you’ll find a range of curated font themes, that you can further adapt - change the font family, size, letter spacing, etc. To help you out, we collected 10 gorgeous font combinations you can implement on your Pixieset Website.
- Stylize buttons. Inside your Design Tab > Buttons, you can select options like Solid, Outline, or Underline, adjust your buttons’ size (small, medium, large), or insert a custom size.
- Increase or decrease block padding, in order to create a bolder or a more airy feel across your site. Set a padding default site-wide (Spacing > Base Block Padding), or adjust the spacing for individual blocks (via the pen icon of the block > Block Padding options).
- Adjust your page width, and control how your content displays on various screens, whether it scales up or remains at a fixed width. Find more information on adjusting spacing on your website here.
- Add your logo and favicon to the website. Control how your logo looks on light and dark backgrounds, and ensure your branding is presented in the tiniest details, like the browser tab.
07. Flex Editor, a powerful drag-and-drop builder
Flex Editor, our latest drag-and-drop website editor allows you to easily design your own custom blocks and sections. The process is simple: add a Flex Block to any page or blog post, and start customizing it. You can upload images or GIFs, add titles, paragraphs, buttons, or video embeds. Play with the positioning and size of each element, and then tweak the colors and fonts. See how it works here.
Once you're happy with your layout, you can refine the mobile and tablet views to ensure a seamless browsing experience for all visitors. With Flex Editor, you have the power to make your website truly your own. Learn more about designing your website with Flex Editor here.
08. Site-wide animations
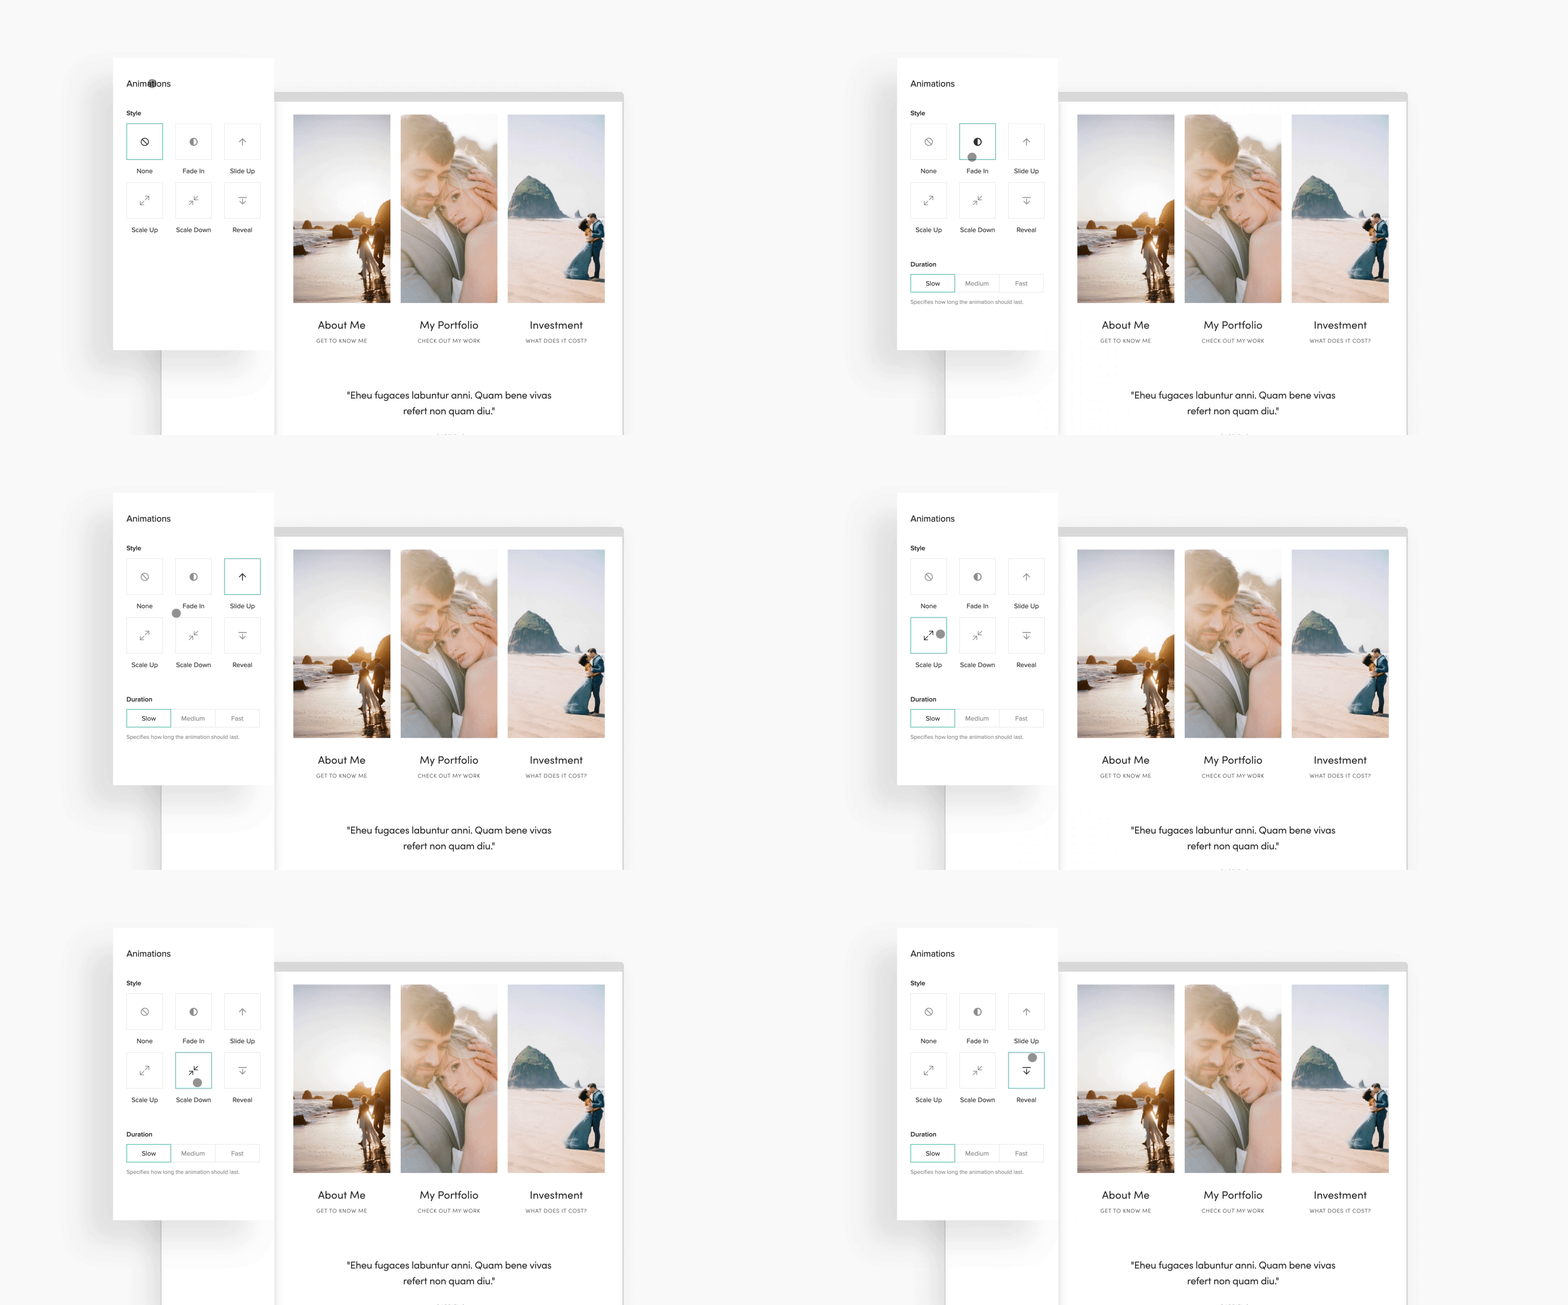
The way you present your work is just as important as the work itself. By enabling the side-wide animations feature, you’re creating a more compelling browsing experience for your users. The images and text will fade in, scale up, slide in, or unfold through other types of effects as you scroll, grabbing your visitor’s full attention.
To enable animations, go into your Website dashboard > Design > Animations and try any of the 5 styles. For more info about website animations, check out this article.
09. Showcase videos, GIFs and PNGs
Videos, GIFs, and PNGs are a great way to bring more fun into your website. You can upload a Gif or a PNG file with a transparent background into any block on your site where an image can be uploaded. Videos are embedded onto your website and pulled directly from Vimeo or YouTube. You can include a personalized cover for the video, to add a more seamless look.
10. Menu style options & Sticky Header
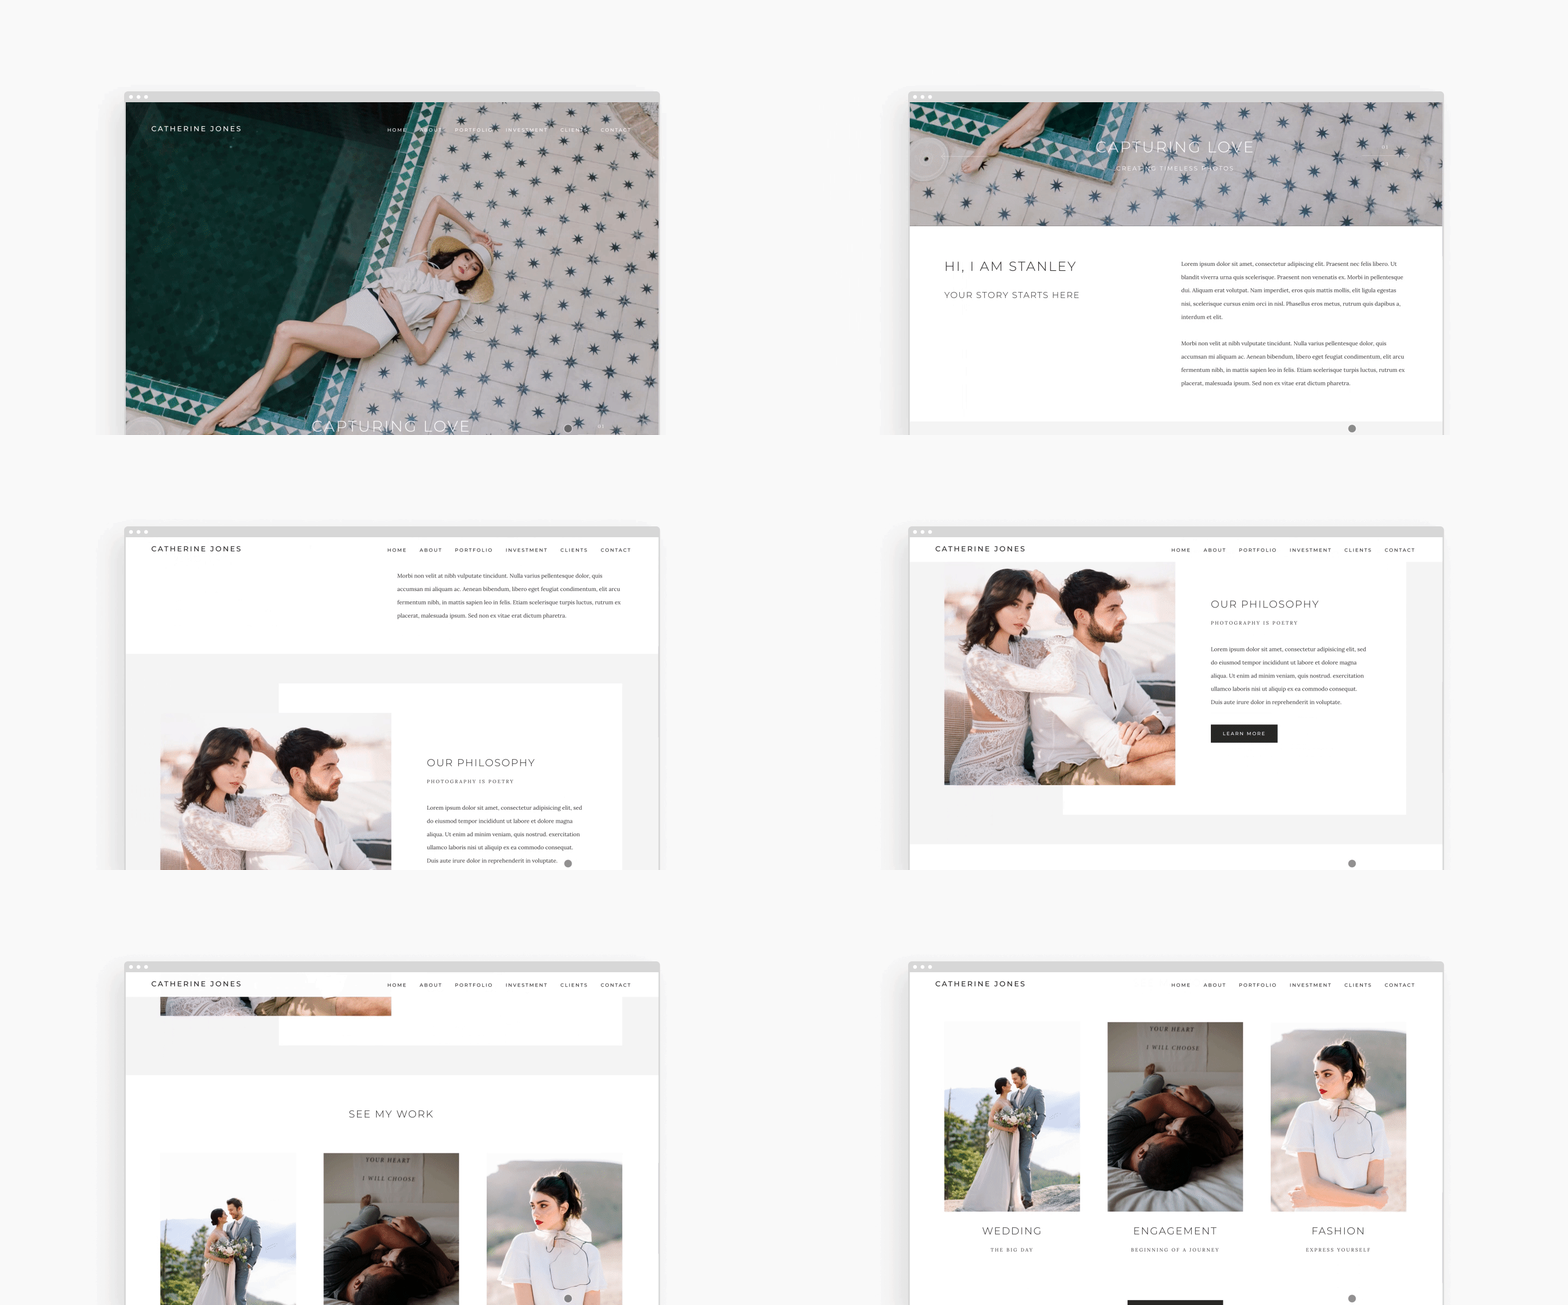
Navigation plays an essential role on your website, as it helps your visitors find their way around. Apart from choosing various ways to present your menu, you can also enable a sticky header. This option will keep your header menu at the top of the page at all times, even when the user scrolls through the site - allowing them to easily access your most important pages. View all menu customization options inside your Design Tab > Navigation.
11. Client Area (connect Client Gallery to Website)
Pixieset Client Gallery helps thousands of photographers deliver, proof, and efficiently sell images to clients. And while this is a separate Pixieset product, you can easily integrate the images from your Client Gallery with your website. Here is a quick tutorial on how to share client galleries on your website here.
12. Import images from photo collections to your website
This feature lets you access all your collections inside Client Gallery, and upload them directly into blocks and pages, saving you lots of time while building your site. Head over to your website dashboard and open any new or existing image block. Click on the “Client Gallery” button inside the editing window, which will show all your available collections. Choose images from a selected gallery to upload to your site. Here is a quick tutorial to guide you through the process.
13. Easy blogging
Running a blog with Pixieset is straightforward and fun. Inside the Blog area, you can easily create new posts, add text and images, personalize URLs, and duplicate posts. Here is a step-by-step tutorial on how to blog with Pixieset Website and a comprehensive guide on efficient blogging for photography websites.
The image that shows up when you share your website via social media (i.e. Facebook) is your social sharing image. You have full control over it and can upload a custom one that looks more professional and on-brand. Go to Website > Settings > Social. Check out this help article for more tips on your social sharing image.
15. Unique ways to show your Instagram feed
Once you connect your social accounts to the website, you can choose one of the 3 ways to present your IG feed. You can always switch between layouts directly on the page to see how it looks in combination with the rest of your content. Your social block will sync up with your Instagram, and will automatically update on the website, as you post something new.
16. Privacy options
Pixieset offers a range of privacy features for your website. You can choose to hide your site from search engines, remove pages from the menu, restrict access to certain pages with a passcode, or protect your whole website with a unique password.
17. SEO options
SEO can be a complex topic to dive into and work on, especially if it’s your first time building a website. We get it, that’s why we did most of the work for you. Inside your Pixieset Website, you have a designated SEO Manager, to help you handle your site settings that impact your rankings online - SEO status, page titles, URLs, descriptions, etc. Once you go through all the settings, you can run an SEO audit of your website directly inside your dashboard, to check for broken links and image Alt texts - which are used to describe your photos and help Google understand what they’re about.
You also get additional built-in perks that can help improve your SEO. For example, Pixieset instantly optimizes your photos for a fast loading time. We also generate your sitemap and make it available for search engines to use, when crawling your site. Click here to read everything you need to know about SEO on your Pixieset website.
18. Mobile-friendly right out of the box
Pixieset resizes your website so it looks great on all devices. If you’d like to double-check your mobile view before publishing your site, click on the Preview button at the bottom left of your dashboard, and switch between devices (desktop, mobile or tablet). Here is a quick tutorial on how to preview your site.
While building your website with Flex Editor, you have even more freedom and flexibility to tailor the way your site displays across devices. It lets you access the mobile and tablet views, make edits to the layout, reposition and resize items, and ensure you’re providing the best possible experience to all your site visitors.

Use Custom Header/Footer code to include code snippets that can be used for adding site analytics, meta data, or scripts for external services such as live chat support. Custom header/footer code is an upgraded feature and will require a subscription to the Website-Pro plan, or any of the Suite plans. More information on upgrades here.
20. Add embed code blocks
You can use a custom embed code block to add third-party content to your Pixieset Website, like contact forms, widgets, badges from publication awards, etc. This is an upgraded feature and will require a subscription to the Website-Pro plan, or any of the Suite plans. More information on upgrades here.
21. Tracking and Analytics
The Analytics feature lets you connect third-party tools such as Google Analytics, to track how many users visit your site, where they’re based, how long they stay on your website or what pages they visit. This gives you great insights on how you can enhance your user experience based on their geographical area and preferences, and update your content to fit your audience. It also lets you understand how much traffic you get from certain channels or paid campaigns.
Inside Pixieset Website you can:
- Connect your Google Analytics inside your Settings > Tracking & Analytics
- Add your Facebook Pixel ID to help track and optimize data from Facebook ads
- Add a cookie banner, to notify users of your use of cookies
22. Connect your custom domain
As you may already know, all users get a free Pixieset domain for their website. However, you also have the option to connect your own custom domain, in a few quick steps. Here is a tutorial that explains the whole process. This is an upgraded feature and will require a subscription to the Website-Pro plan, or any of the Suite plans. More information on upgrades here.
23. You can use Pixieset Website for FREE
Having a professional-looking website is easy and fun with Pixieset, and most importantly - you can get started with a free plan! Register here and start experimenting with your new Pixieset Website right away, no credit card required. Already have a website with Pixieset? Head over to your dashboard and start getting to know these features!

 Product
 Website