BLOG
How to make a GIF in Photoshop & other online tools

Whether you pronounce it as JIF or GIF, with a hard G, there is no debate that its popularity has skyrocketed in the past half a decade.
As a photographer, you may consider using GIFs to add a playful vibe and more movement to your online presentation, like on your website for example. Yet don’t rule out using GIFs as part of your photo deliverables for your clients. After all, a single GIF can showcase a deeper range of emotions in a specific moment, and bring back all the fun memories from a session.
If you’re looking to enrich your visual storytelling by adding GIFs to your arsenal of tools, but aren’t sure how to create one — you’re in the right place. In today’s article, we’ll walk you through the simple and quick process of creating a GIF out of photos. We’ll use Adobe Photoshop for this tutorial, and will also share some additional tools and online software that can help you create your first GIF. Let’s dive right in!
Step #1 Select photos
First things first, select the photos that you want to use to create your GIF. While not necessary, it will be more convenient to add them to a separate folder.
Once you’ve done that open Photoshop and go to File > Scripts > Load Files into Stack, select the photos you want to use, and upload them. Photoshop will create a separate Layer for each image you’ve selected.
Step #2 Open a Timeline
Your next move is to go to Window > Timeline (this is where you’’ll animate all your layers) and select Create Video Timeline. Here you will be able to turn your Layers into Frames and turn your several static images into a single animated GIF. If it wasn’t selected automatically, click the Timeline Window and select Create Frame Animation.
Step #3 Turn layers into animation frames
Now you need to convert your Layers (photos) into frames. Select the menu of the Timeline Panel and click on Make Frames From Layers. They will be displayed in the Timeline Panel.
Step #4 Edit frame duration and loop settings
Click on the time displayed underneath each frame and choose the duration. This will set how long each image that you uploaded will play in the GIF. It’s completely up to you, but we recommend staying between 0.5 and 1 second.
At the bottom of the toolbar, you can select how many times the GIF loops before it stops playing. A single loop will consist of the GIF going through every image you uploaded, for the duration that you set up previously. So if you set it to 3 loops, it will go through all the images 3 times, and then stop at the same image it started with. You can set it to any number you wish, but generally, it’s best to set it to Forever. Additionally, you can change the order of the frames in the timeline, by clicking and dragging them to a new position.
Step #5 Preview, save, and export your GIF
In the same toolbar where you set the loop amount, you can find a Play button. Clicking it will allow you to preview your GIF. If you are happy with the final result, you can save and export your GIF. Select File > Export > Save for Web (Legacy).
Before you hit the Save button, a window with settings will pop up. There, under the Preset dropdown, choose the type of GIF file you want, in order to save it. The number next to GIF determines how large and precise the colors will be compared to the ones of the original images you used. Here are a few recommendations for choosing your GIF settings:
- A GIF can have a maximum of 256 colors. The more colors your GIF has, the larger its size will be.
- Keep Dither between 75% and 98%. A higher dither means a smoother GIF, but it will also increase the size of your GIF.
- When it comes to GIFs for your website, it’s generally recommended to keep the size down. Try to combine your settings for an optimal result while keeping the size of the GIF file under 1MB.
- You can always optimize your GIF later on by using an online tool, like this one.
The last step is to click Save at the bottom of the screen, select a name and location for your file, and you’re done!
Online tools to create GIFs out of photos
While Photoshop is the best option if you want to preserve image quality and have full control when creating your GIFs, it isn’t the only option you have. There is a large variety of free online tools that you can use in order to create a GIF. Here are a couple of them:
- Canva is a free online design tool with a multitude of features, one of which is GIF creation. Take a look at this quick tutorial on how to make GIFs in Canva.
- GIPHY is one of the largest online platforms for GIFs, animated stickers, clips, and more. It’s only natural that they have a dedicated free GIF creation tool on their website. Check this tutorial on making GIFs in GIPHY.
- Imgflip is a simple and fast website for creating and sharing images, memes, and gifs, online. Their GIF creator is simple and straightforward, and you can learn about it here.
Share, deliver, and sell GIFs to your photography clients
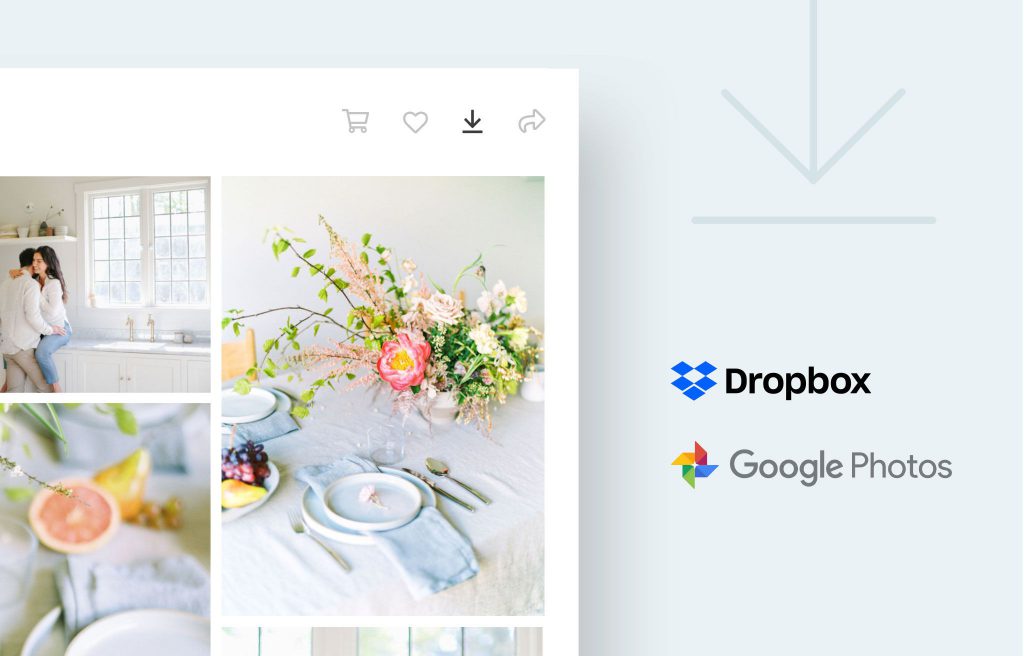
GIFs are a great and easy way to enhance the experience and emotions you deliver to your clients along with their photos. With Pixieset Client Gallery you can share photos, GIFs, and even videos, all inside one collection — allowing clients to preview, download, and share them with loved ones. Check out how that will look in these two client gallery demos, a wedding one and a photo booth one.
Take a look at this detailed tutorial on how to add and sell GIFs and digital downloads through your Pixieset Store.
If you’re new to Pixieset, sign up for a free account and start delivering your work through beautiful online galleries. Upload JPEGs, PNGs, GIFs, and videos to create an unforgettable experience for your clients. No credit card is needed, upgrade when you need to.
 Client Gallery